The Joseph Zbukvic Workshop, pt. 3- Technique
"Your obsession with a finished product is stopping you from achieving one."
Probably the most common pitfall that Joseph came back to was overworking. People want their painting to be perfect every moment, and when that doesn't happen they try and fix it. "You're digging," he said, "for gold, but you're just going to find dirt." It's easy to want to make it juuuuust right, but as I said in the first post, the goal is to let watercolors paint itself (Big Idea #3!). And that, in my opinion, is the guiding principle behind a lot of his technique.
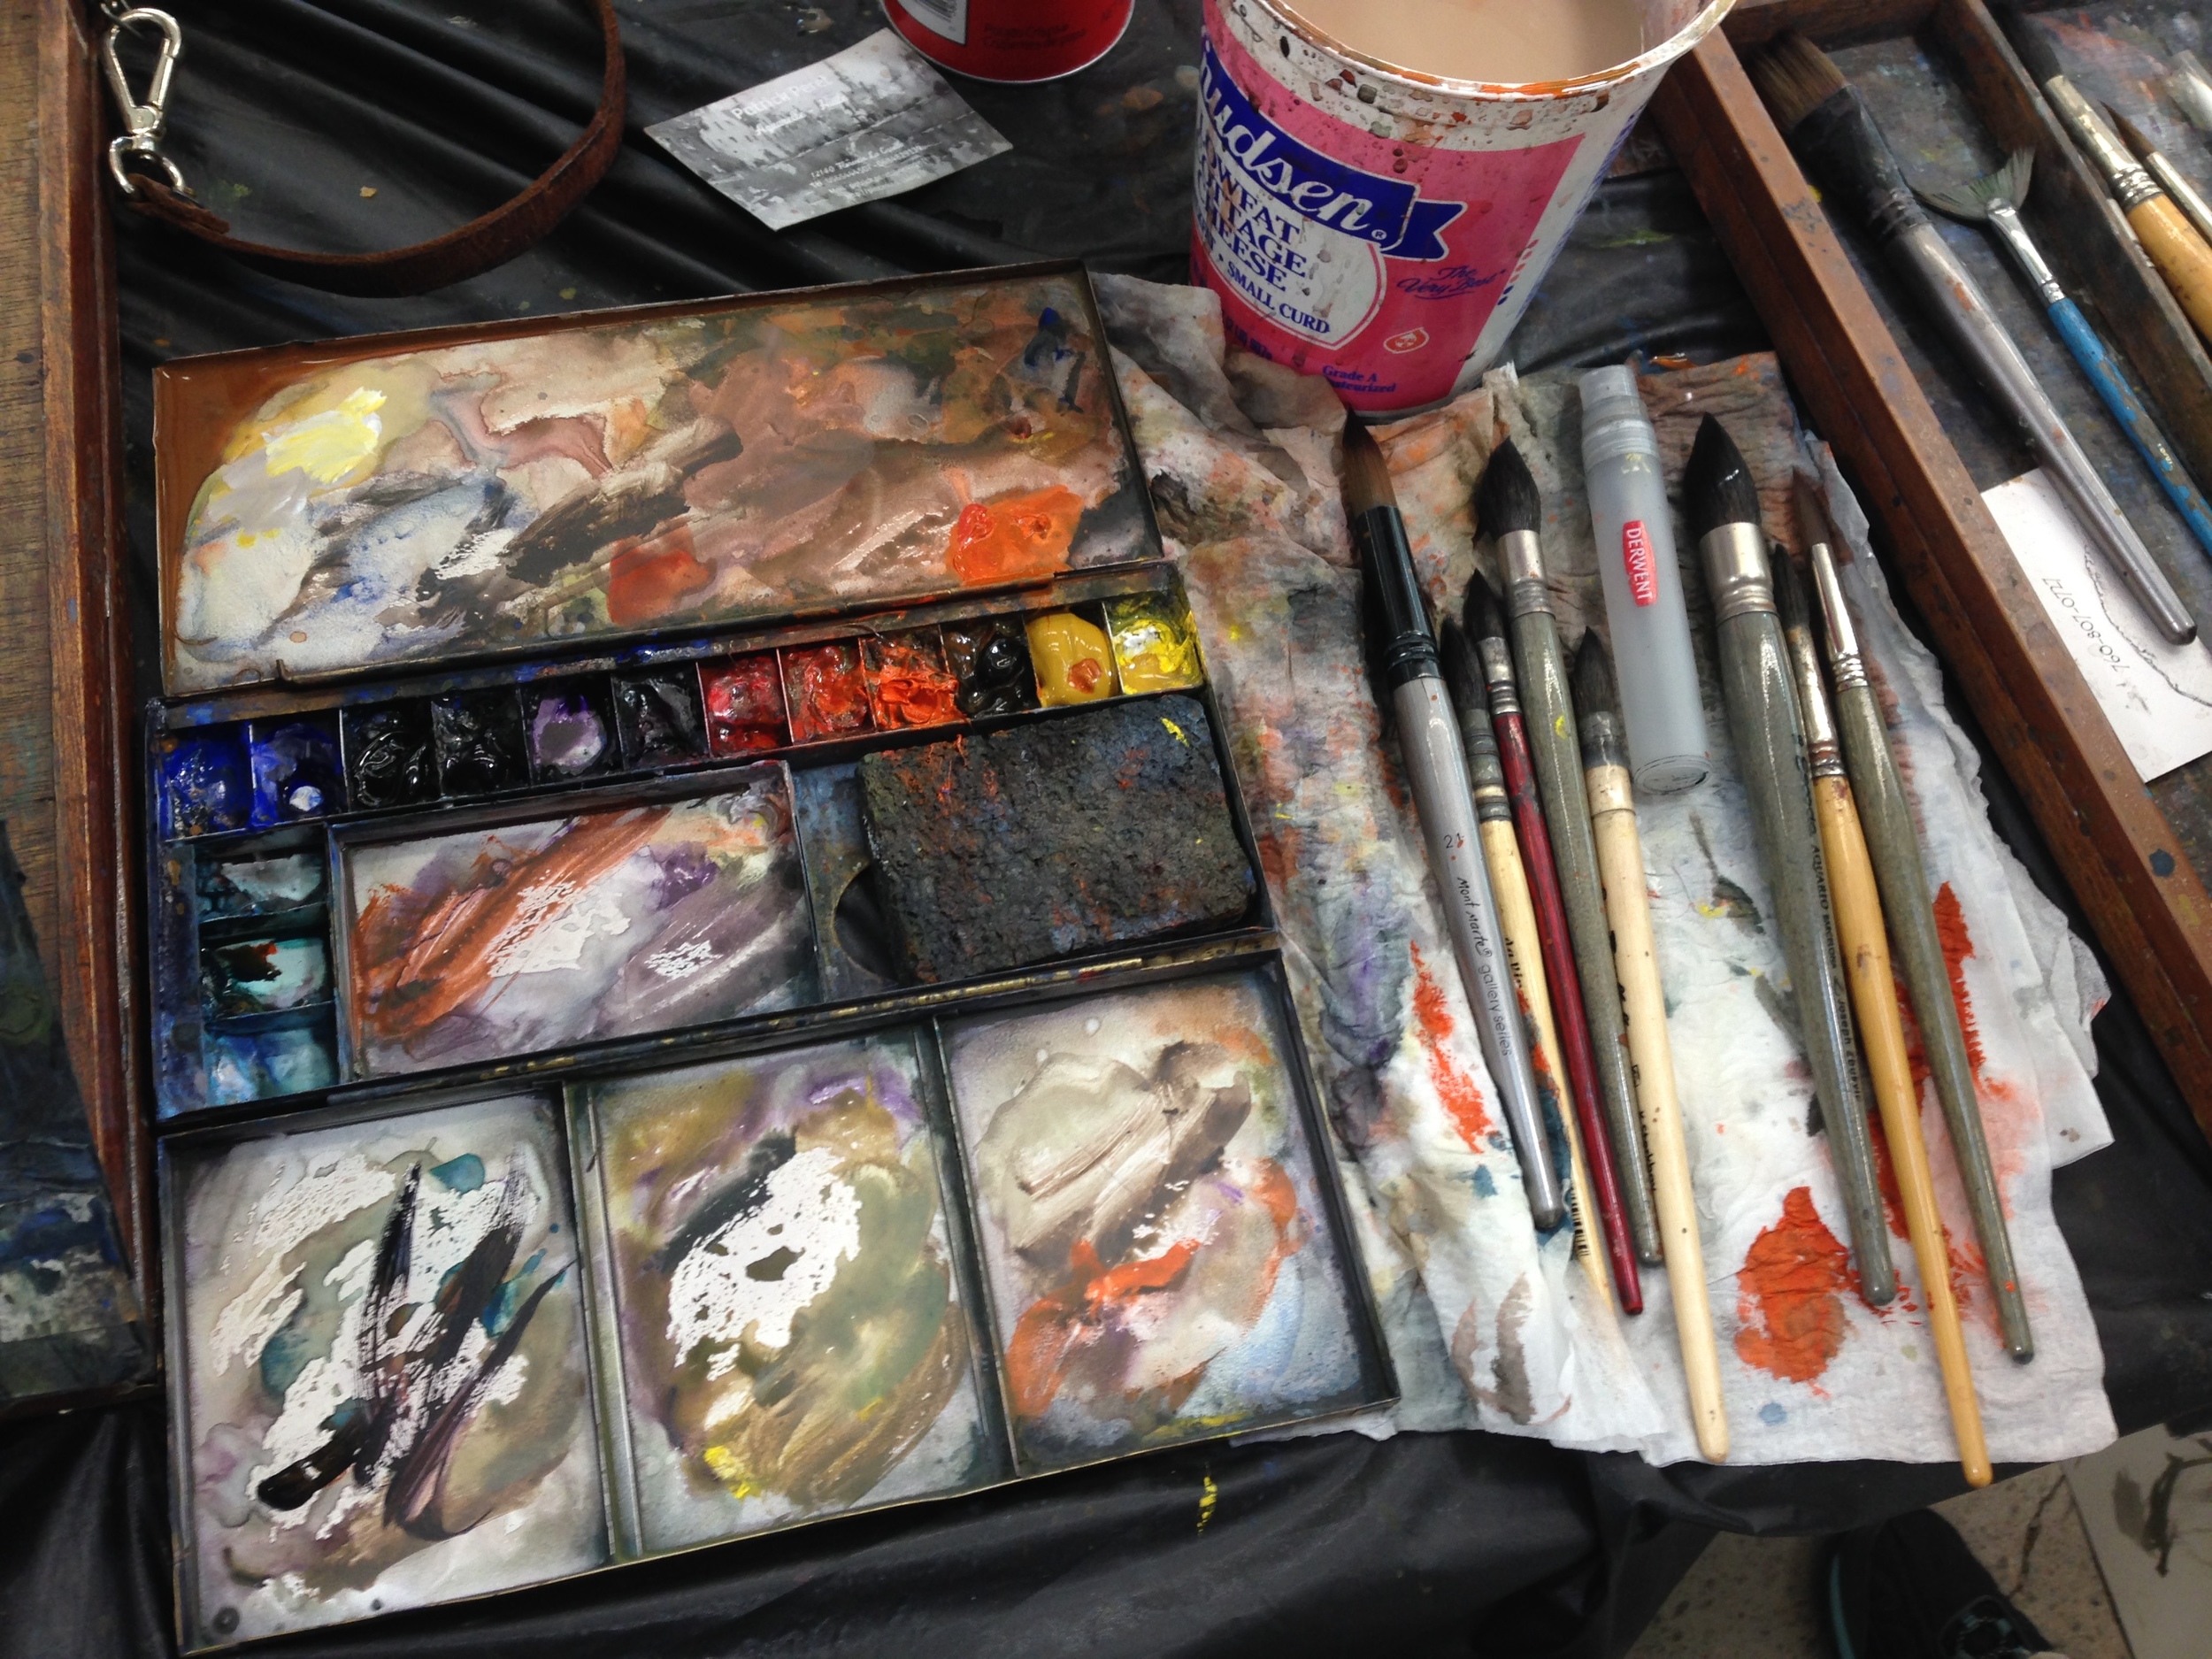
Tools and Materials-
Joseph didn't stress this at all, so it's worth saying that outloud. However, I know people are going to want to know about it. He seemed to prefer Winsor Newton pigments as far as I could tell. (edit- Joseph let me know that they are actually Daniel Smith paints, so there you go). He had an "old school" palette of colors, with things like Cadmium Yellow, Yellow Ochre, Burnt Sienna, Cadmium Red, Cobalt Blue, and Ultramarine Blue. He also carries Neutral Tint and Cobalt Turquoise- a very green blue that he sometimes uses to make his greens. He likes to vary his colors a bit and not get too regular, so he had a purple on his palette during the workshop too, which he used to mute his green and browns. Probably Dioxazine Purple by the look of it. He definitely doesn't care for staining colors.
Of course, he has his own line of Escoda brushes, so there's that. He uses squirrel mops a lot for washes. He liked to use a synthetic with a sharp tip as well, and felt that the Perlas were the best at that. I go into that below, in the Wet into Wet section of this post. His palette looked like a Holbein, and if it wasn't the same as Chien's it was very similar.
Finally, as I remember it, he didn't use Arches and didn't particularly care for it. Someone offered him a piece at one point, and he declined. LOL! Instead, he preferred Sauders Waterford, 140 lb, although I'm not quite sure why. I think it was because you could very easily lift colors.
(edit- He also let me know that his travel palette is from the House of Hoffman-- which makes beautiful handmade palettes-- and that his studio palette is a large Holbein.)
Brushwork-
"You can get away with murder if your brushwork is confident."
The most basic idea was that we should start our brushstrokes with a lot of energy and then correct a bit as need be. It reminded me a lot of Chien's advice about brushwork. There are many times we should be holding the brush like a baton, instead of like a pencil.
He also spoke at some length in the first workshop about using your brushwork to build shapes. The idea was to teach yourself how to build basic shapes- circles, squares, lines and free forms- with a single extended brushstroke, and then to correct them a bit as needed, adding a corner or a finishing line here or there. Once you had the shape, you could add the gentle detailing that turns a circle into a church's dome, or a rectangle into a shaded bridge. But the thing that could not be escaped was the vitality you got from really giving it a go in the first place. No whittling away at a shape by safely dabbing!!
"Even carelessness can be read as confidence. It's better to make a mistake and leave it, than paint something very labored." Of course, he seems to make so few mistakes.... !
Wet into Wet-
“There are steps to watercolor painting. The technique is easy to do. But you can find little fissures, between steps, where you can enter the process and do things in a way you're sort of not supposed to- and that's what makes you an artist, makes your expression yourself.”
There wasn't as much talk directly about this, but, of course, it has everything to do with how he paints. The whole week was, to me, a sort of master class on wet-into-wet painting, how to read moisture on the paper, how to assess moisture on the brush, etc. This all goes back to the Watercolor Clock, and truthfully just requires each and every one of us to spend time playing, experimenting, and learning to "read" the water on the paper and the brush. How do you get around feeling the wet paper with your knuckle? Or learning to read the sheen on the paper? Or removing the right amount of water from your brush with your fingers? You just have to practice it until you know.
One thing he did specifically mention was the idea that "first you think about the value of what you're going to paint, so you can mix your paint. Then you think about the edges, so you know how wet your paper (and your brush) needs to be." You're not only watching the moisture on the paper. It's an interaction between two things, for sure. He also switched between different types of brushes, depending on the work he was doing and how much control over water he needed. He used his mops for big washes and shapes, then would switch, for example, to a good synthetic when he needed to control the amount of water he was charging into that area, wet into wet. So, he didn't just switch brushes to increase detail or paint a bigger or smaller shape. He also used them to help control the amount of water he was applying to the paper. A very key ingredient!
The Details & What Makes It "It"
Zbukvic was very clear that the details did not complete the painting, but that, instead, it was really the shapes. And yet, if you include just enough jewelry, "it makes it sing." So they're important, even essential, but easy to overdue.
Of particular interest to me was an idea Joseph presented that Chien fought hard for us to learn as well- the power of abstracting objects down to their basic elements, and then using that clearer detail like a key, to make truly abstract shapes read correctly. So, for every object, there is an essential element that must be included for it to be read. Joseph called it the "eyes" of the thing, but essentially it's what makes it "it". For people it's the head and shoulders, for cars perhaps the tires and windshield, for buildings the windows and cast shadow of an overhang, etc. He suggested we figure out the rest on our own. ;) Get just a few of these right, and, like magic, other far more abstract objects will also read correctly.
Chien called it "the lazy brain." The mind seems to enjoy inferring other objects are there, instead of having you literally draw each one. Joseph has his own phrase too, of course. "Indicate, don't state." Great minds think alike.
Let's see how much of all of this we can see in the demo below-
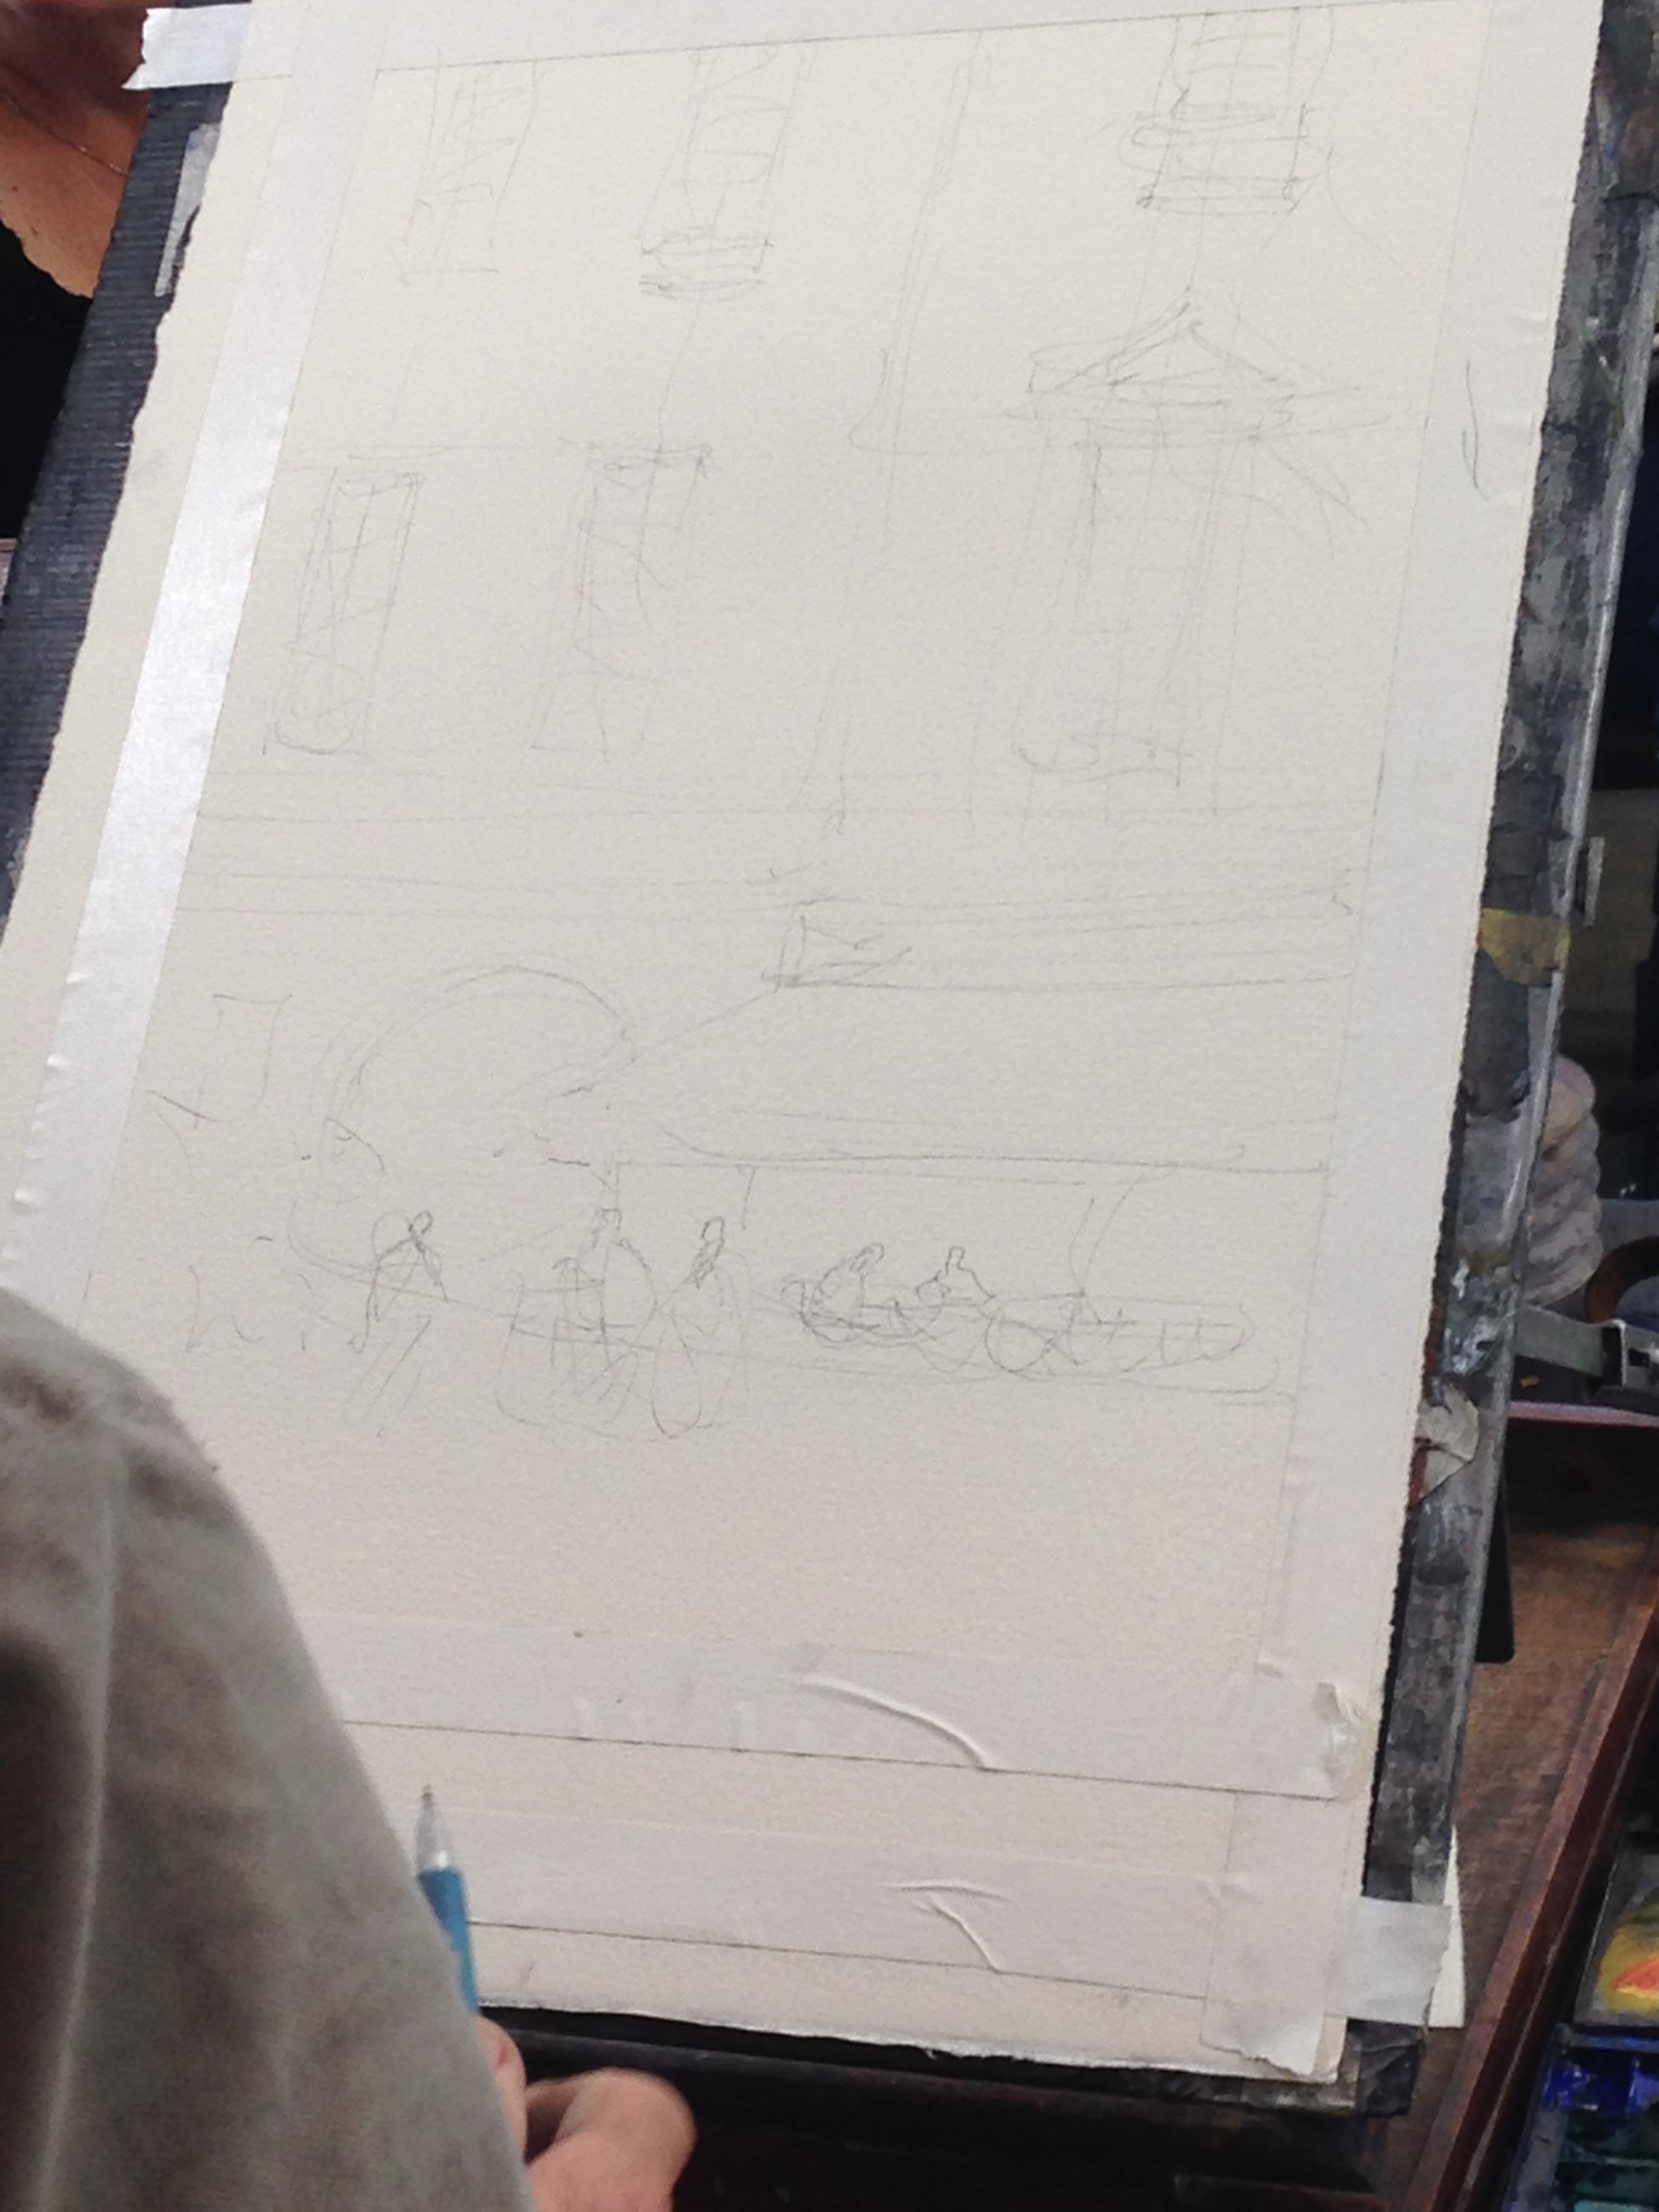
First, I've spoken about this sketch in the previous post, but to reiterate briefly- the sketch is loose, even though there are lots of little fiddly bits. He's detailed and clear for the big shapes (the awning and the archway), and the location of the people. But look how loose he is for the cafe under the awning. There's almost nothing there! All of that will get "painted with the brush."

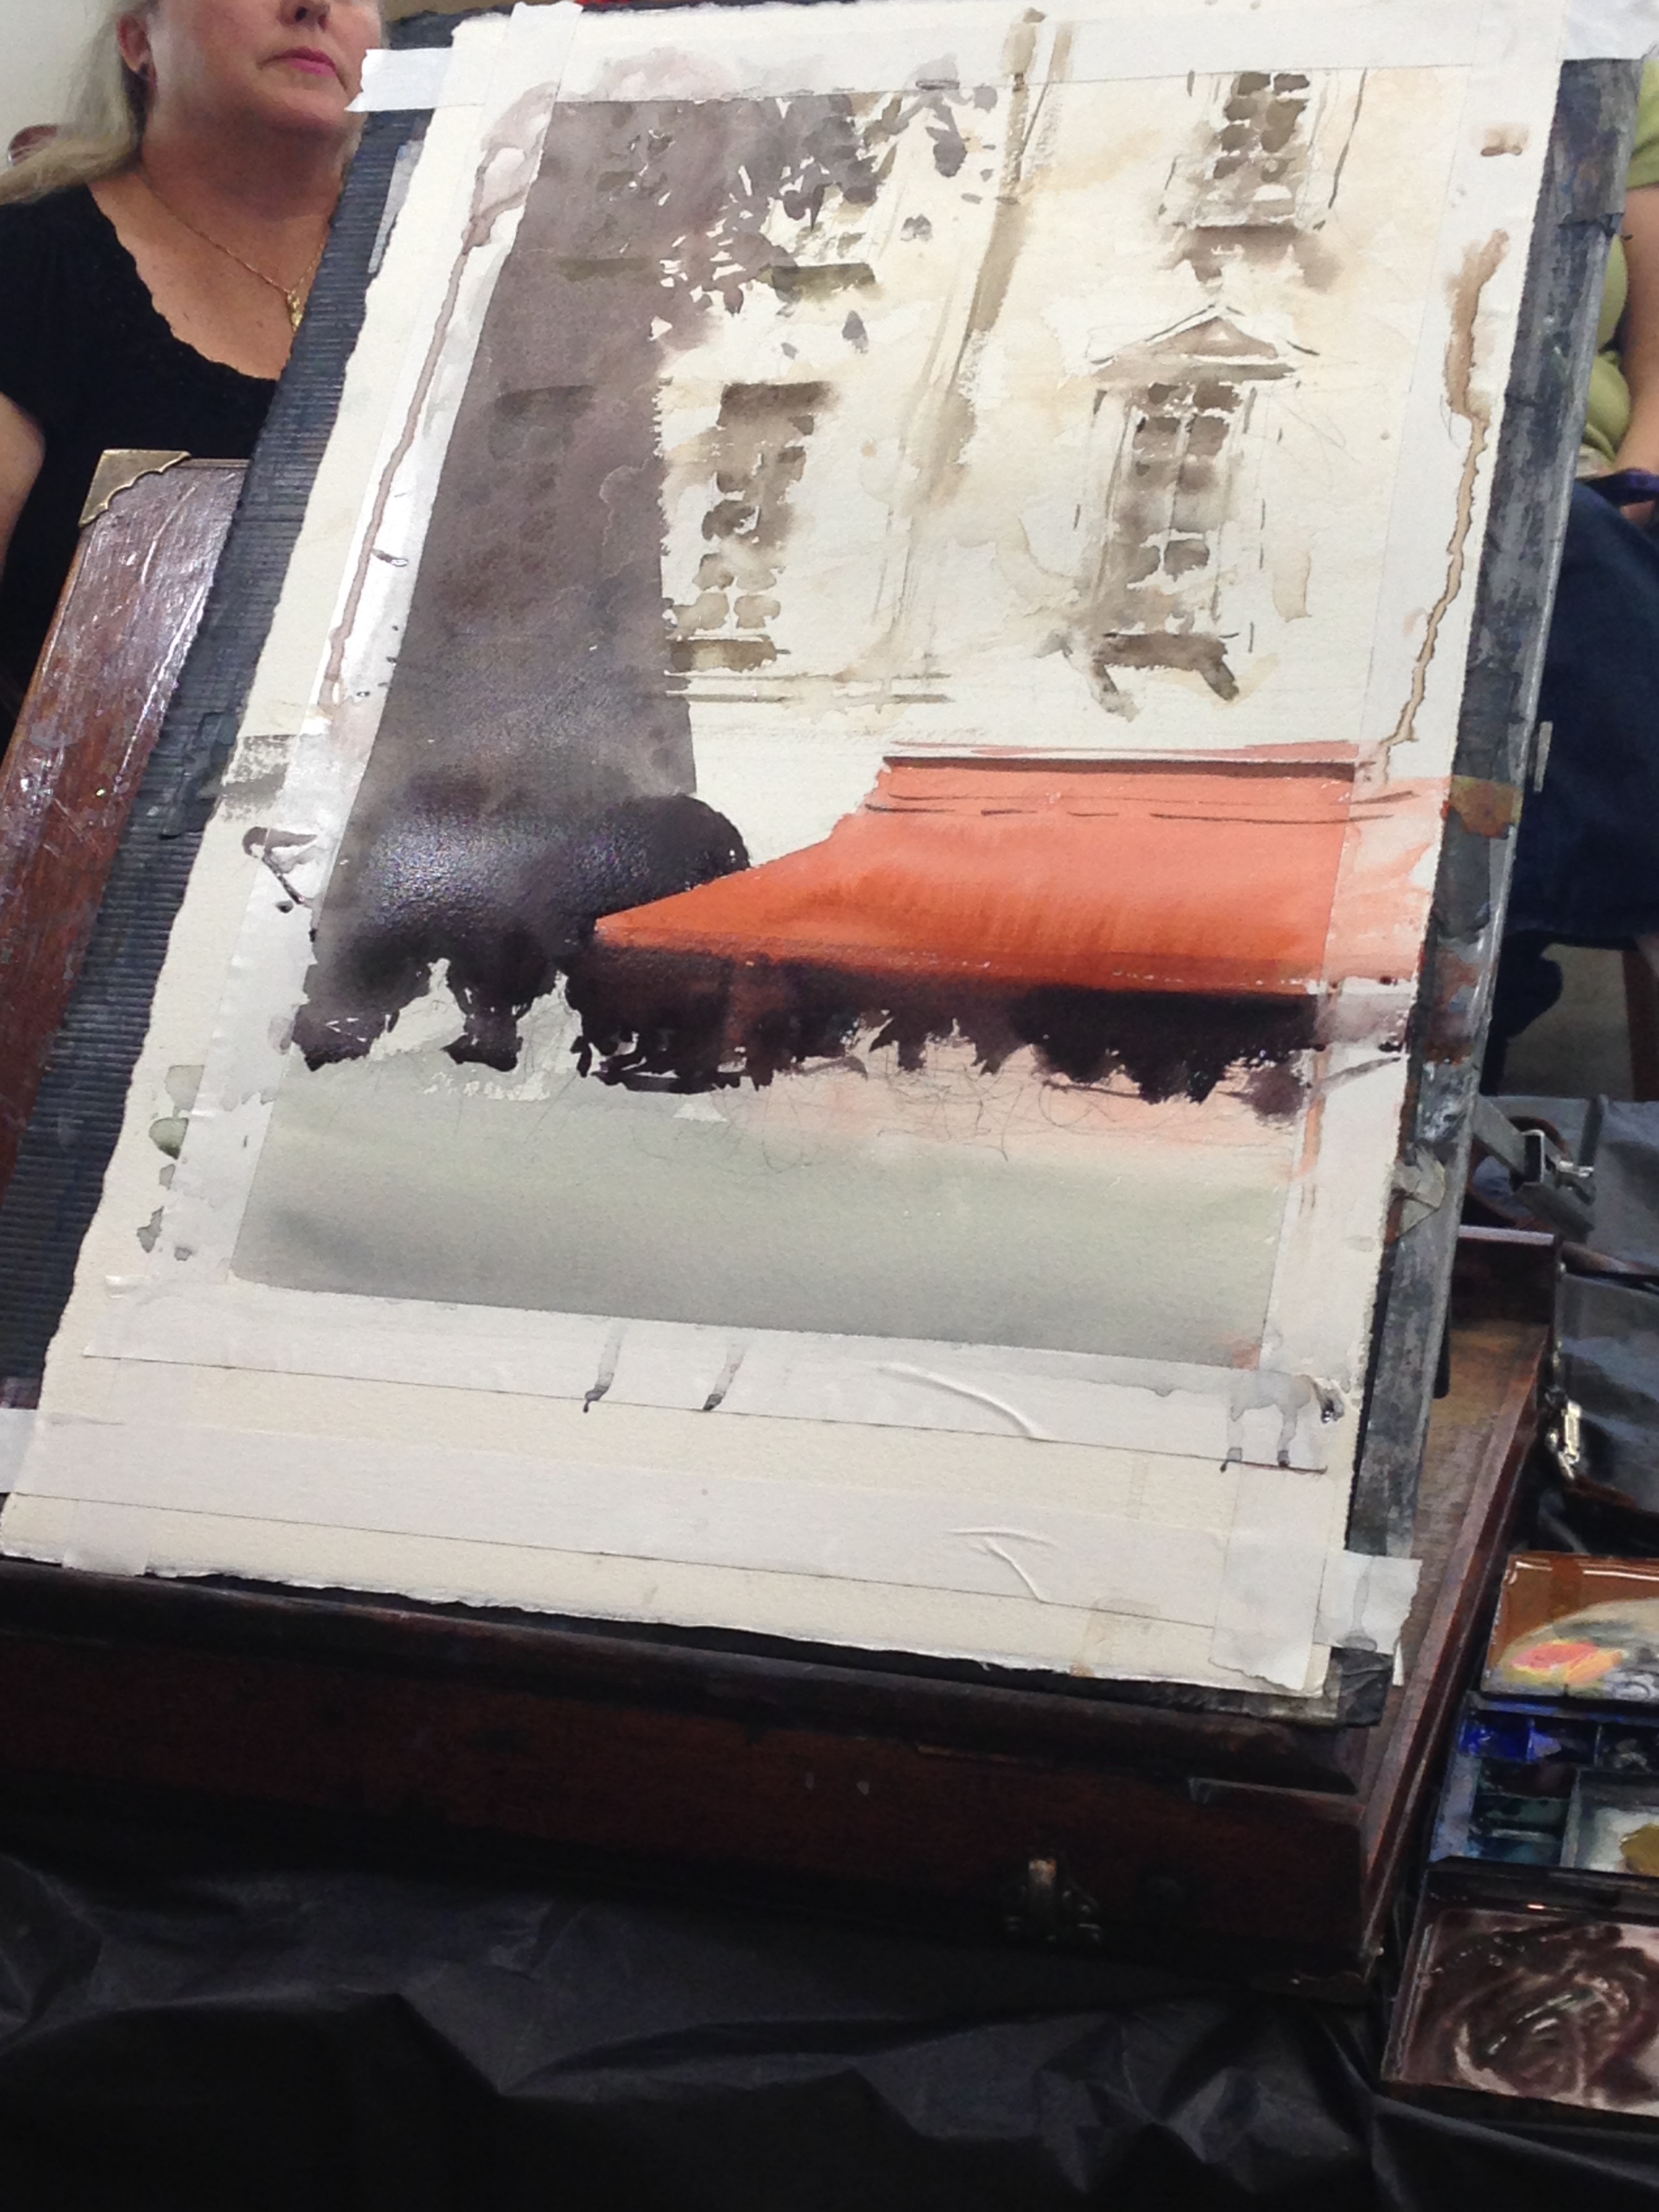
One of the reasons I chose this demo to share is because he uses the same technique to paint these windows as he did to paint the clouds back in the first demo. !! First he splashes down some dirty water, here and there, leaving dry white paper too. This get things loose, so the next step will "paint itself" (Big Idea #3).


Then he goes about painting some of the squares. The occasional streaks of water he laid down keep it from getting too tight. This painting is not "about" windows. He's primarily focused on value, and only goes a bit tighter here and there to carve out an occasional shadow or overhang. Lastly, you can see he dropped in the red for the awning, and then pulled it down over the people in the cafe, probably with just some water. Then he lets it all dry. 100%. (Big Idea #2)

Once that's dry, he brings in the big shadow shape, that binds things together. He starts at the top and brings it down over the windows and into the bold archway. He cuts the bottom of the umbrella and carves around some figures. His edges are crisp because his paper is dry. Notice too, how loose the bottom of the shadow is- nothing too straight or whole. It's all broken up, so he can turn it into things- people, tables, chairs, etc.
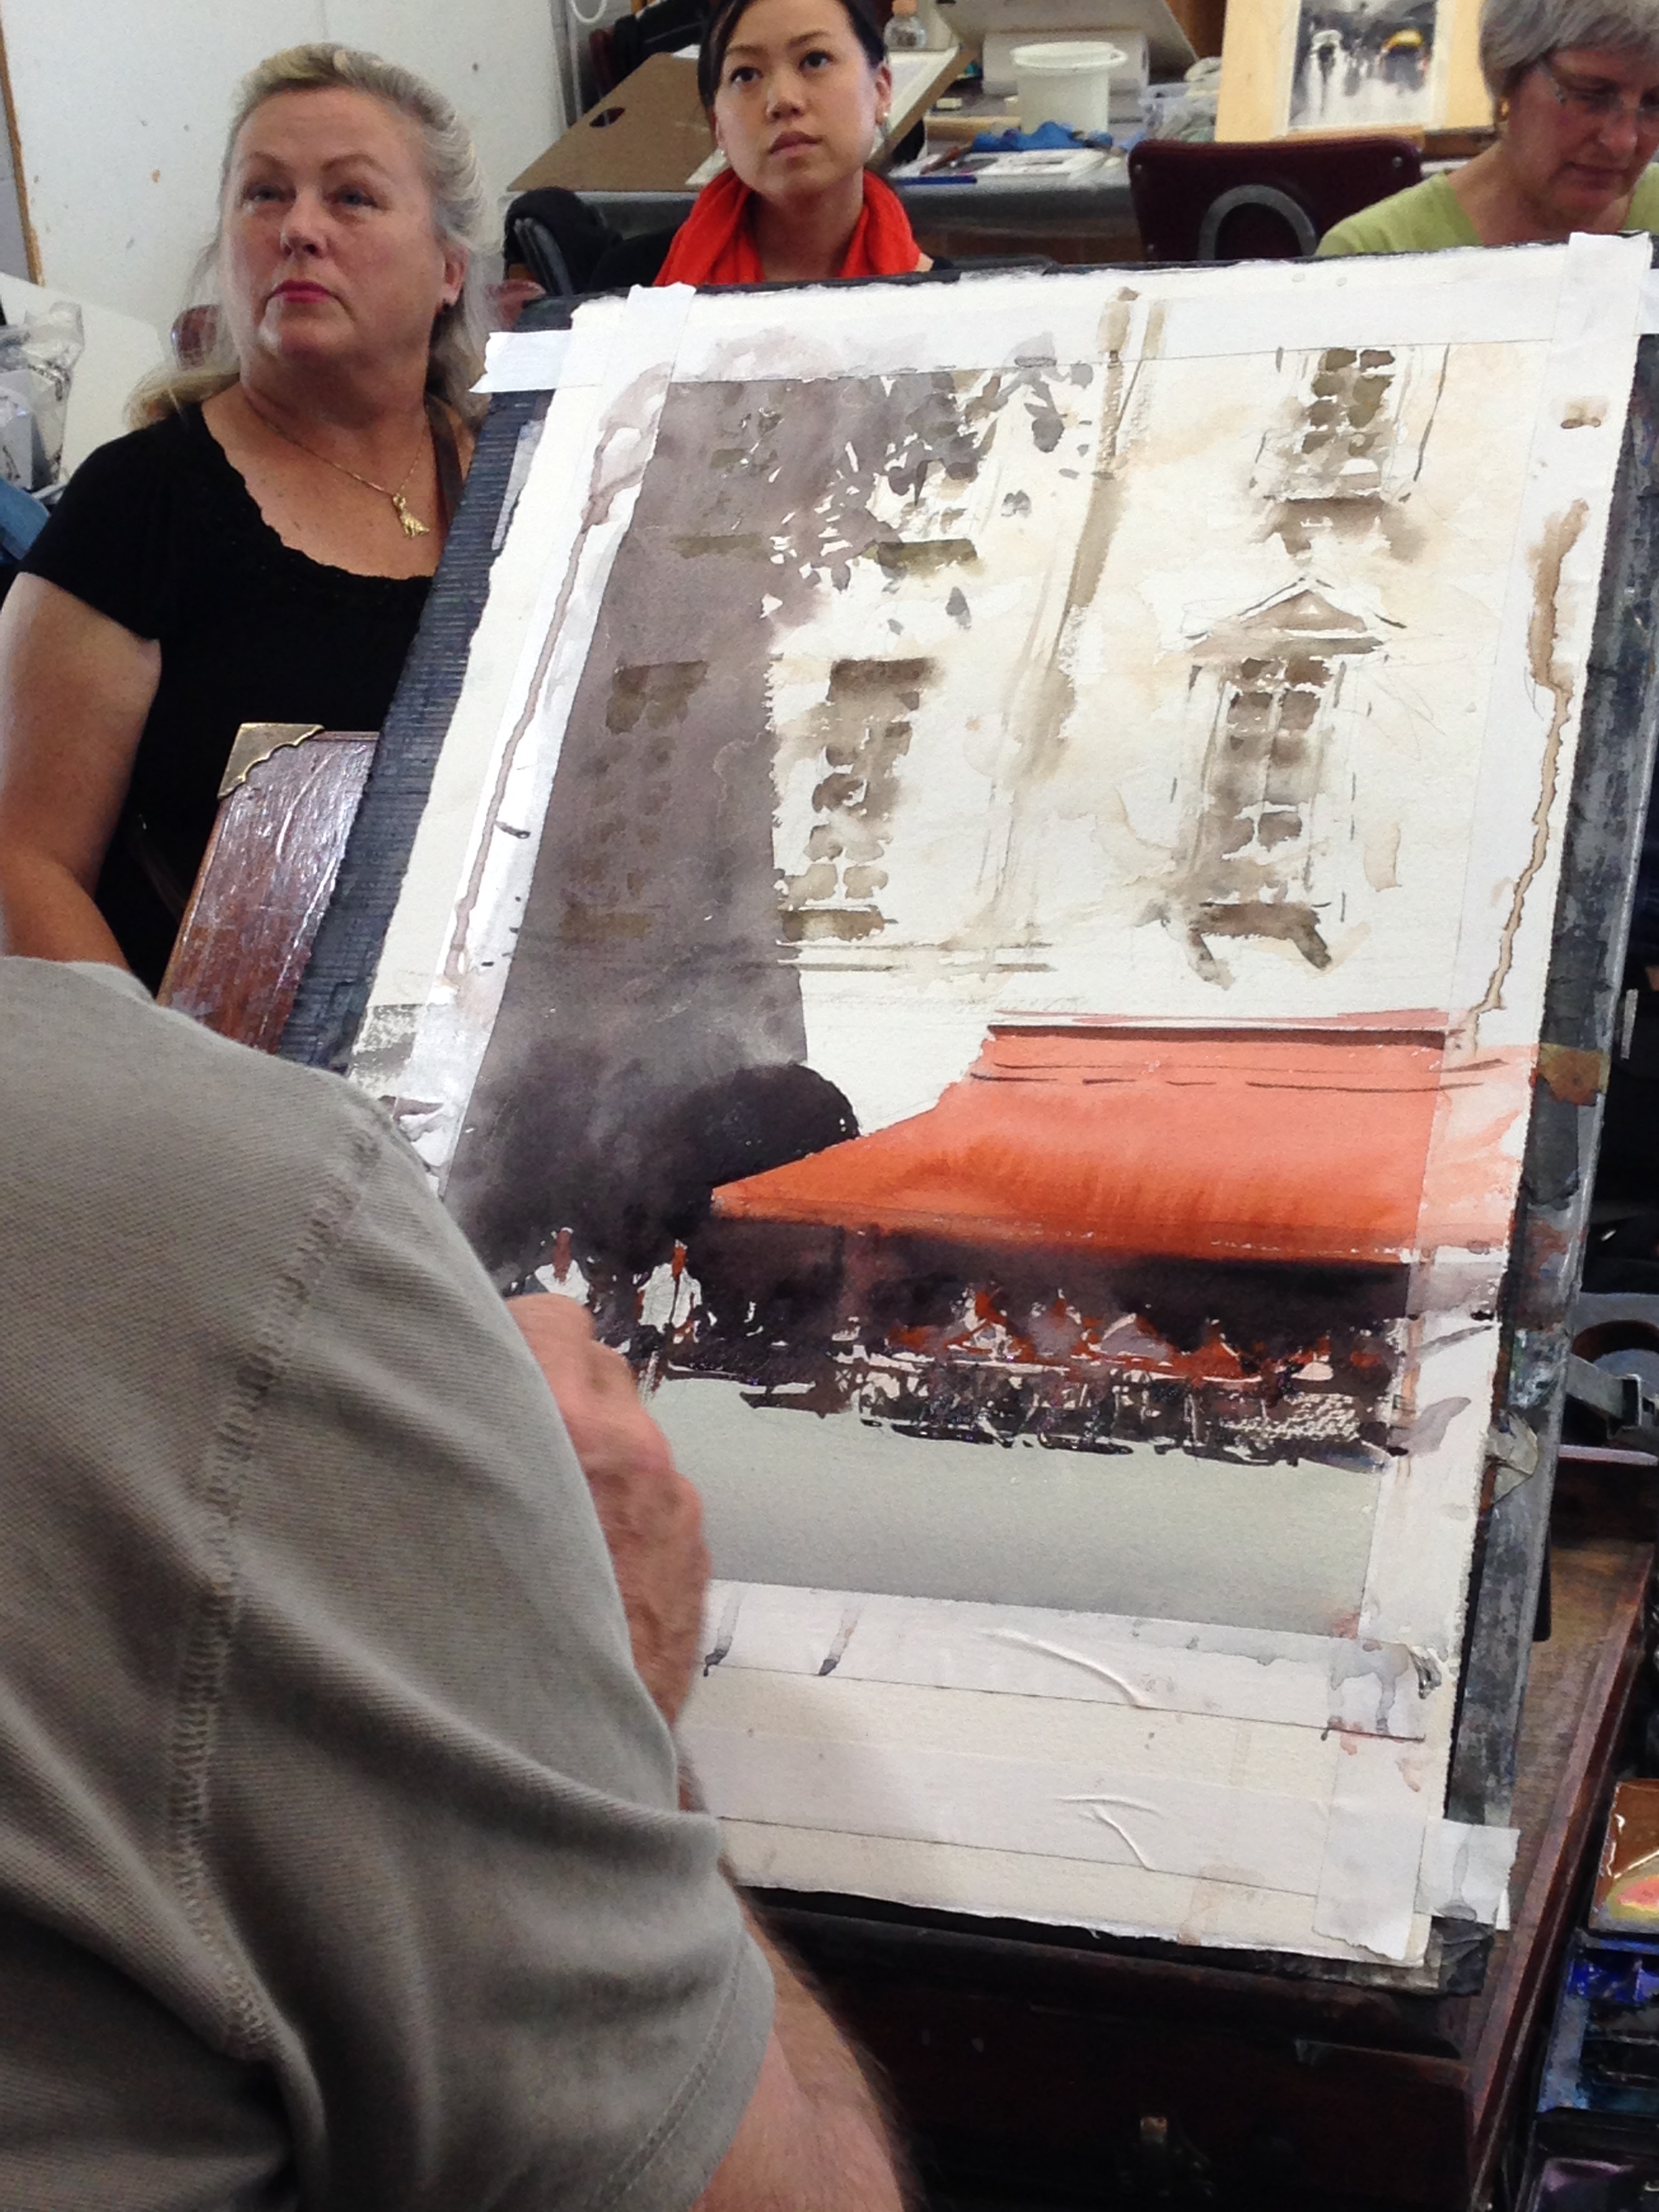

At last, he builds his people, much as Alvaro might. The tables and chair legs are pure abstraction. He just makes sure to preserve a few clean horizontal and vertical whites here and there, and the rest reads because of it. The foreground is still there, though (Big Idea #1). So he pulls the shape of the dappled shadow across it, and brings it into the painting. Voila!
This second demo is from the second workshop, when we went down to the Embarcadero. I picked it because it shows a lot of wet into wet work, and this post is about technique. It's really also a lot about "letting watercolor paint itself." Big Idea #3. Joseph found this crane that could get painted from a shady location, and gave it a go. Much thanks to Etsuko Sugiyama for this set of photos. I had no pics at all from this demo! Thanks Etsuko! So much fun painting with you! :)

Here we all are down by the embarcadero. that's the bay bridge in the distance. We are just in the shade, so Joseph's easel has good, mellow light on it.

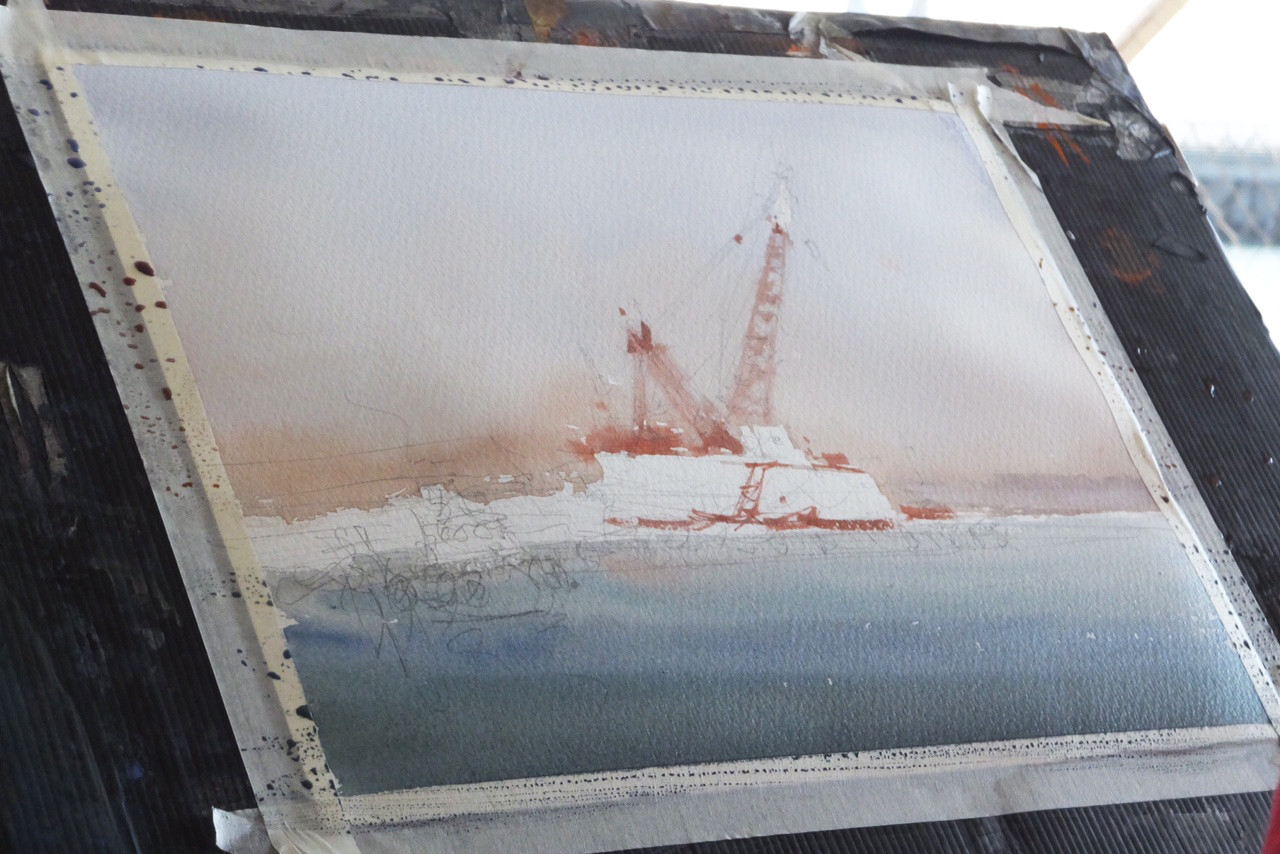
You can see in the first pic that 1) his sketch is very loose, even for something as rigid and mechanical as the crane, and 2) he starts with the background wash. The sky was actually paler at the base, but he pushed some more value and color into it, to make the white of the boat pop. Artistic license! Don't forget to use it! Chien has a great line about this too-- "Don't let your subject kidnap you!"
What was interesting about this demo was that use used the thin white line on the water in the distance to let him divide his first wash into 2 shapes (Foreground and Background). This let him paint wet into wet up top, before he went down to the water. You can see in the image below that he very softly went back into the crane and roughed out the form wet into wet. His goal, he said, was to capture that sense of glowing light- he didn't want something too harsh and rigid, that would unbalance the entire composition. Later, he'll go back in and add some dry brush detail, but the form of the crane isn't going to ride on that detailed, drybrush work. It's this first push that creates the shape.
For stuff like this, he would use his synthetic brush because it carries less water (so no blossoms), and he was very careful to dry out his brush too- even squeezing a bit of water out of it with his fingers sometimes. Timing was very critical here. If I remember correctly, he actually fussed around a bit with the body of the boat, putting those little bits of red into the dry paper for the ladder and what not, as things dried up above a bit. Then he did the wet into wet work for the crane. It was very easy to have the paint disperse if you did it too early, or make blossoms if you did it too late and had too much water on your brush. The big key, IMO, is to make sure your brush is not too loaded with water, but it's always good to practice this sort of stuff elsewhere, if you've not done it before.


In this photo and the one below it, you can see that he starts his foreground wash. You can see he left the seam of white along the horizon, and let the value get darker the farther down he got.
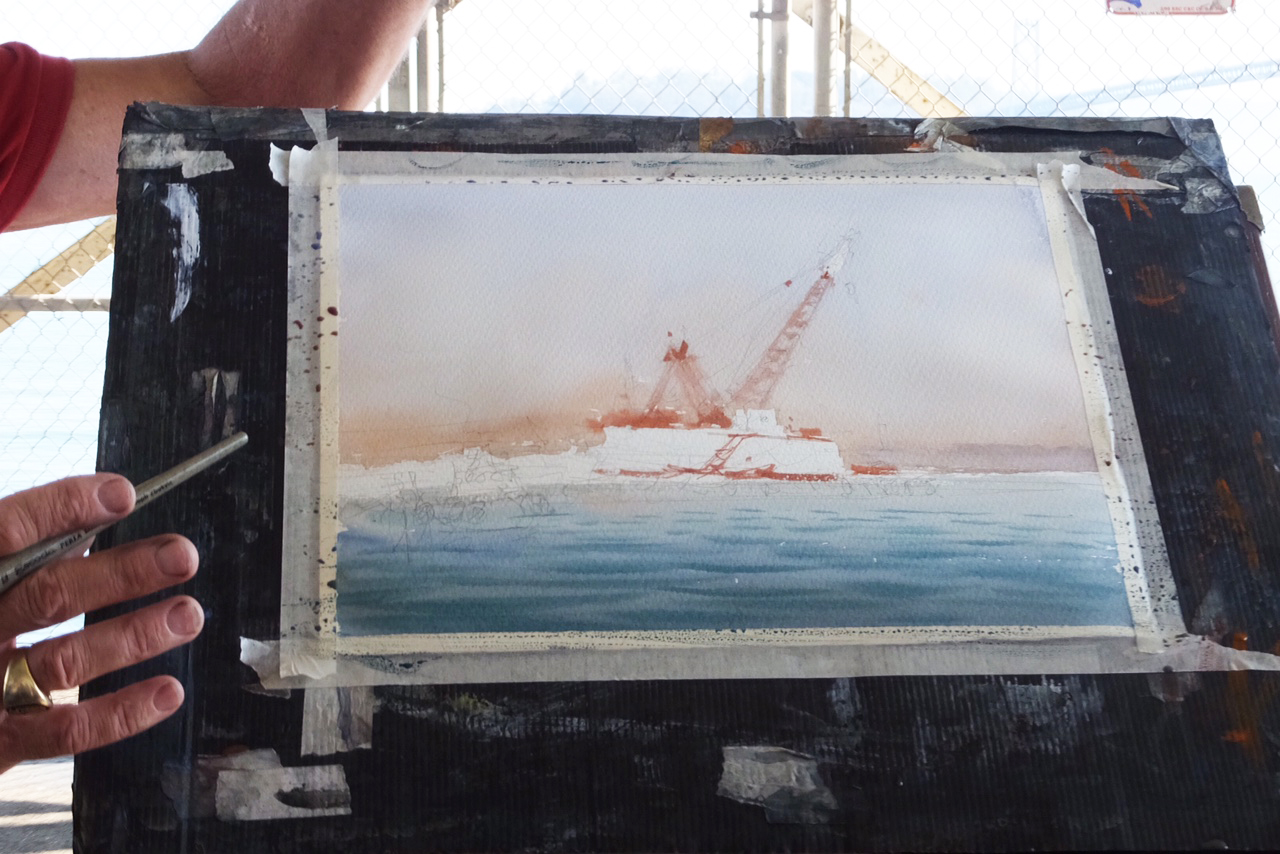
He then puts in the soft, wet "wavelets", wet into wet. This is also harder than it looks. Or maybe it looks hard from the get-go! Hahaha! The goal was to make sure you hard a darker value, and that you had a nice thick mixture on the brush. You don't want to pick up something extra watery from the palette, because it will just disperse into the wash you've already laid. He used his synthetic for this too- it has a sharp point, and it also helps control the volume of water you're carrying in the brush. Do it too late, and you get blossoms, do it too early, and it basically looks like you didn't do anything, because they don't keep their form. Argh! The goal, of course, is to "let them paint themselves" (Big Idea #3). He never worried the strokes or went back in. If his prep was right (right mixture on the palette, right amount of water on the brush, right amount of moisture on the paper) then he just has to make a stroke and the rest softens and grows on its own.
Once he was done with the sky and the water, he let it all dry. Stage 1 was done. Big Idea #2. Then he goes back in to push the midground (Big Idea #1). The truth was that to me, technically, this was the easier part, if you just didn't over do it. It's all dry brush work. The dock is entirely abstract, and the crane borders on it too. Something that was really neat, however, was to see his put in just enough rich red marks to give some "form" to those soft, wet into wet strokes he did back at the beginning.


This final photo gives you a close up on the boat and crane. You can see a boat in the foreground on the left. He didn't really know what to put there, but then a ferry came in. He got the gist of it and put it in the composition in a heartbeat. Pretty amazing!
And that's it for today. In the next post, I'll be talking all about plein air work with Joseph. Lots of photos from his plein air work, and some discussion about how we set things up logistically. Thanks for following along and commenting. It's been a fun ride for me so far! :)