The Joseph Zbukvic Workshop, pt. 2- Composition and Sketching, or What to Do Before You Pick Up Your Brush...
What became clear after watching Joseph paint repeatedly is that, despite everything looking effortless, a great deal of brain-work, the heavy lifting, occurs before he sets his brush to the paper. And it’s this preparation that makes successful mark-making easier. I've heard more than one painter talk about "having a completed image in his mind before he starts". They know the steps they're going to take to get there too. They have a plan.
But how do they get there? It seems like magic because they're so experienced, but, generally, a series of basic things happen over and over again that guide them. They choose a good subject. They build a composition with a stage, setting, and actors. They might make a thumbnail or two. They alter what they see, editing things some, until the shapes relate to each other well. They produce a sketch to make a map for their brush. And only then do they go about what we generally call "painting."
Hopefully, this post covers some of that process...
Choosing a Subject-
Much like Alvaro, Joseph said, “You start painting the moment you choose a subject.” Simultaneously, he also said "it's often the first mistake people make." Hmmmm.... I guess it sounds like something we should investigate!
1) Each painting should tell a story.
One of the things Joseph told us was "Don't paint a picture. You have to tell a story. A viewer should be able to look at your painting and know instantly what the image is about, what the 'story' is.” Of course, he never made up anything too specific, like a plot. Instead, he mentioned things like a painting being about a boiling hot day on the farm, or the glow of light on an empty street before sunset, or a rainy day in a bustling city. The “story” was often about the setting and the feeling you got from the painting. Sometimes it was about people doing things. But in the most basic of terms, it's what your painting "is about." And if you don’t know what your painting “is about”, what you want to capture, then you’ve got a problem. It becomes very difficult, for example, to understand what your focal point is, or how you want to prioritize things and build contrast, if you don't know what "story" you are telling...
2) Certain things make easier subjects for watercolors than others.
He warned against subjects that required too much negative painting, or that were very dark and relied only on bright pops of light to draw the eye. These sorts of things were very good for acrylics or oils, but, in his opinion, when painting with watercolors it was better to choose subjects that were paler and relied on darker points of interest. In one of his videos, he has a scene where he passes by some docks with many many sailboats. Very pretty, he tells us, but it's not a good scene to paint. So those two things are not always the same. As he said, “Keep it simple. It’s already bloody hard enough!”
3) Foreground/ Background/ Middleground-
Yep, this one again. Big Idea #1. It's gonna continue to come up a lot.
Third, and perhaps most importantly, was the idea that subjects need a foreground, background, and middle ground, or as he puts it- a stage, the setting, and the actors. These are the three most basic shapes of your entire painting. Where you placed your “actors” in the context of all your other shapes was important to him. He noted, for example, the benefit of a foreground many, many times- unless you were painting still lifes or portraits. Most painters push you right into the picture, close to the subject, and their compositions often lack the sense of depth and welcome a foreground provides.
“The background often just tells you where you are,” he said. “Remove it and keep the mid ground/ focal point, and you could be in very many different places. It is the setting. It should not be competing with the focal point. The stage is where your actors are. Each shape must do its job. The mid ground is your focal point, your actors- where you have more complicated shapes. The foreground needs to lead you into the painting, or it is failing at its job.” So, in a nutshell, everything has a job, not everything can be the focal point, and it’s important to pick a subject that allows for these things to be clear. You want to set yourself up for success from the get-go.
Composition is the Relationship Between Shapes-
“Details don't finish the painting. The major shapes create the painting.”
3 types of shapes-
Joseph broke things down into three basic categories of shapes-
Free Shapes, the easiest to paint- trees, skies, mountains and meadows, things “made by God”
Manmade Shapes- cars, buildings and boats, lamp posts, etc.
Live Shapes, the hardest- animals and humans
These will become very important when we talk about sketching. But in a gist, these are the basic kinds of shapes I'm talking about below, when I build out the idea that "Composition is the relationship between shapes".
Visual Vocabulary and "Turning Objects Into Shapes"-
Something that was interesting was that when Joseph spoke about “turning objects into shapes”, he spoke about many of the things that come up with other painters- shapes have proportions, associations of values, a variety of edges, verticals and horizontals, etc. It's like all accomplished painters are going around patiently repeating the same things to us, until it sinks into our brains. In this vein, Joseph was very keen on us using "visual vocabulary" when describing things in a painting- a term I've heard before. Masts were "verticals", docks were "horizontals", trees were "dark values", etc. What occurred to me this time, however, is that conceptualizing things this way makes it easier for our minds to see the composition as a series of relationships between various shapes on a piece of paper, not just as an accurate reflection of the separate objects in front of us.
Thumbnails-
I found this approach particularly important when doing preliminary sketches/ thumbnails. The goal for these small, very early roughs is to figure out the composition, just to block out the relationships between shapes. There is no detail or "jewelry" in a thumbnail- it should really just be a chance for you to experiment with different arrangements of shapes and values. Thinking of things with "visual vocabulary" helps. You remove things from view that don't blend, or you push things around a bit until they do. You shift your perspective a bit if need be. To guide me, I often think of Chien's "6 yes/ 4 no" at this phase. Additionally, from there, you can blow things back up as you work on your canvas, but using visual vocabulary as a tool, it's easier to hold that smaller, abstracted vision in your mind. I also just keep the thumbnail handy, as a reference and guide. That's easy too. :P
Working From Photos-
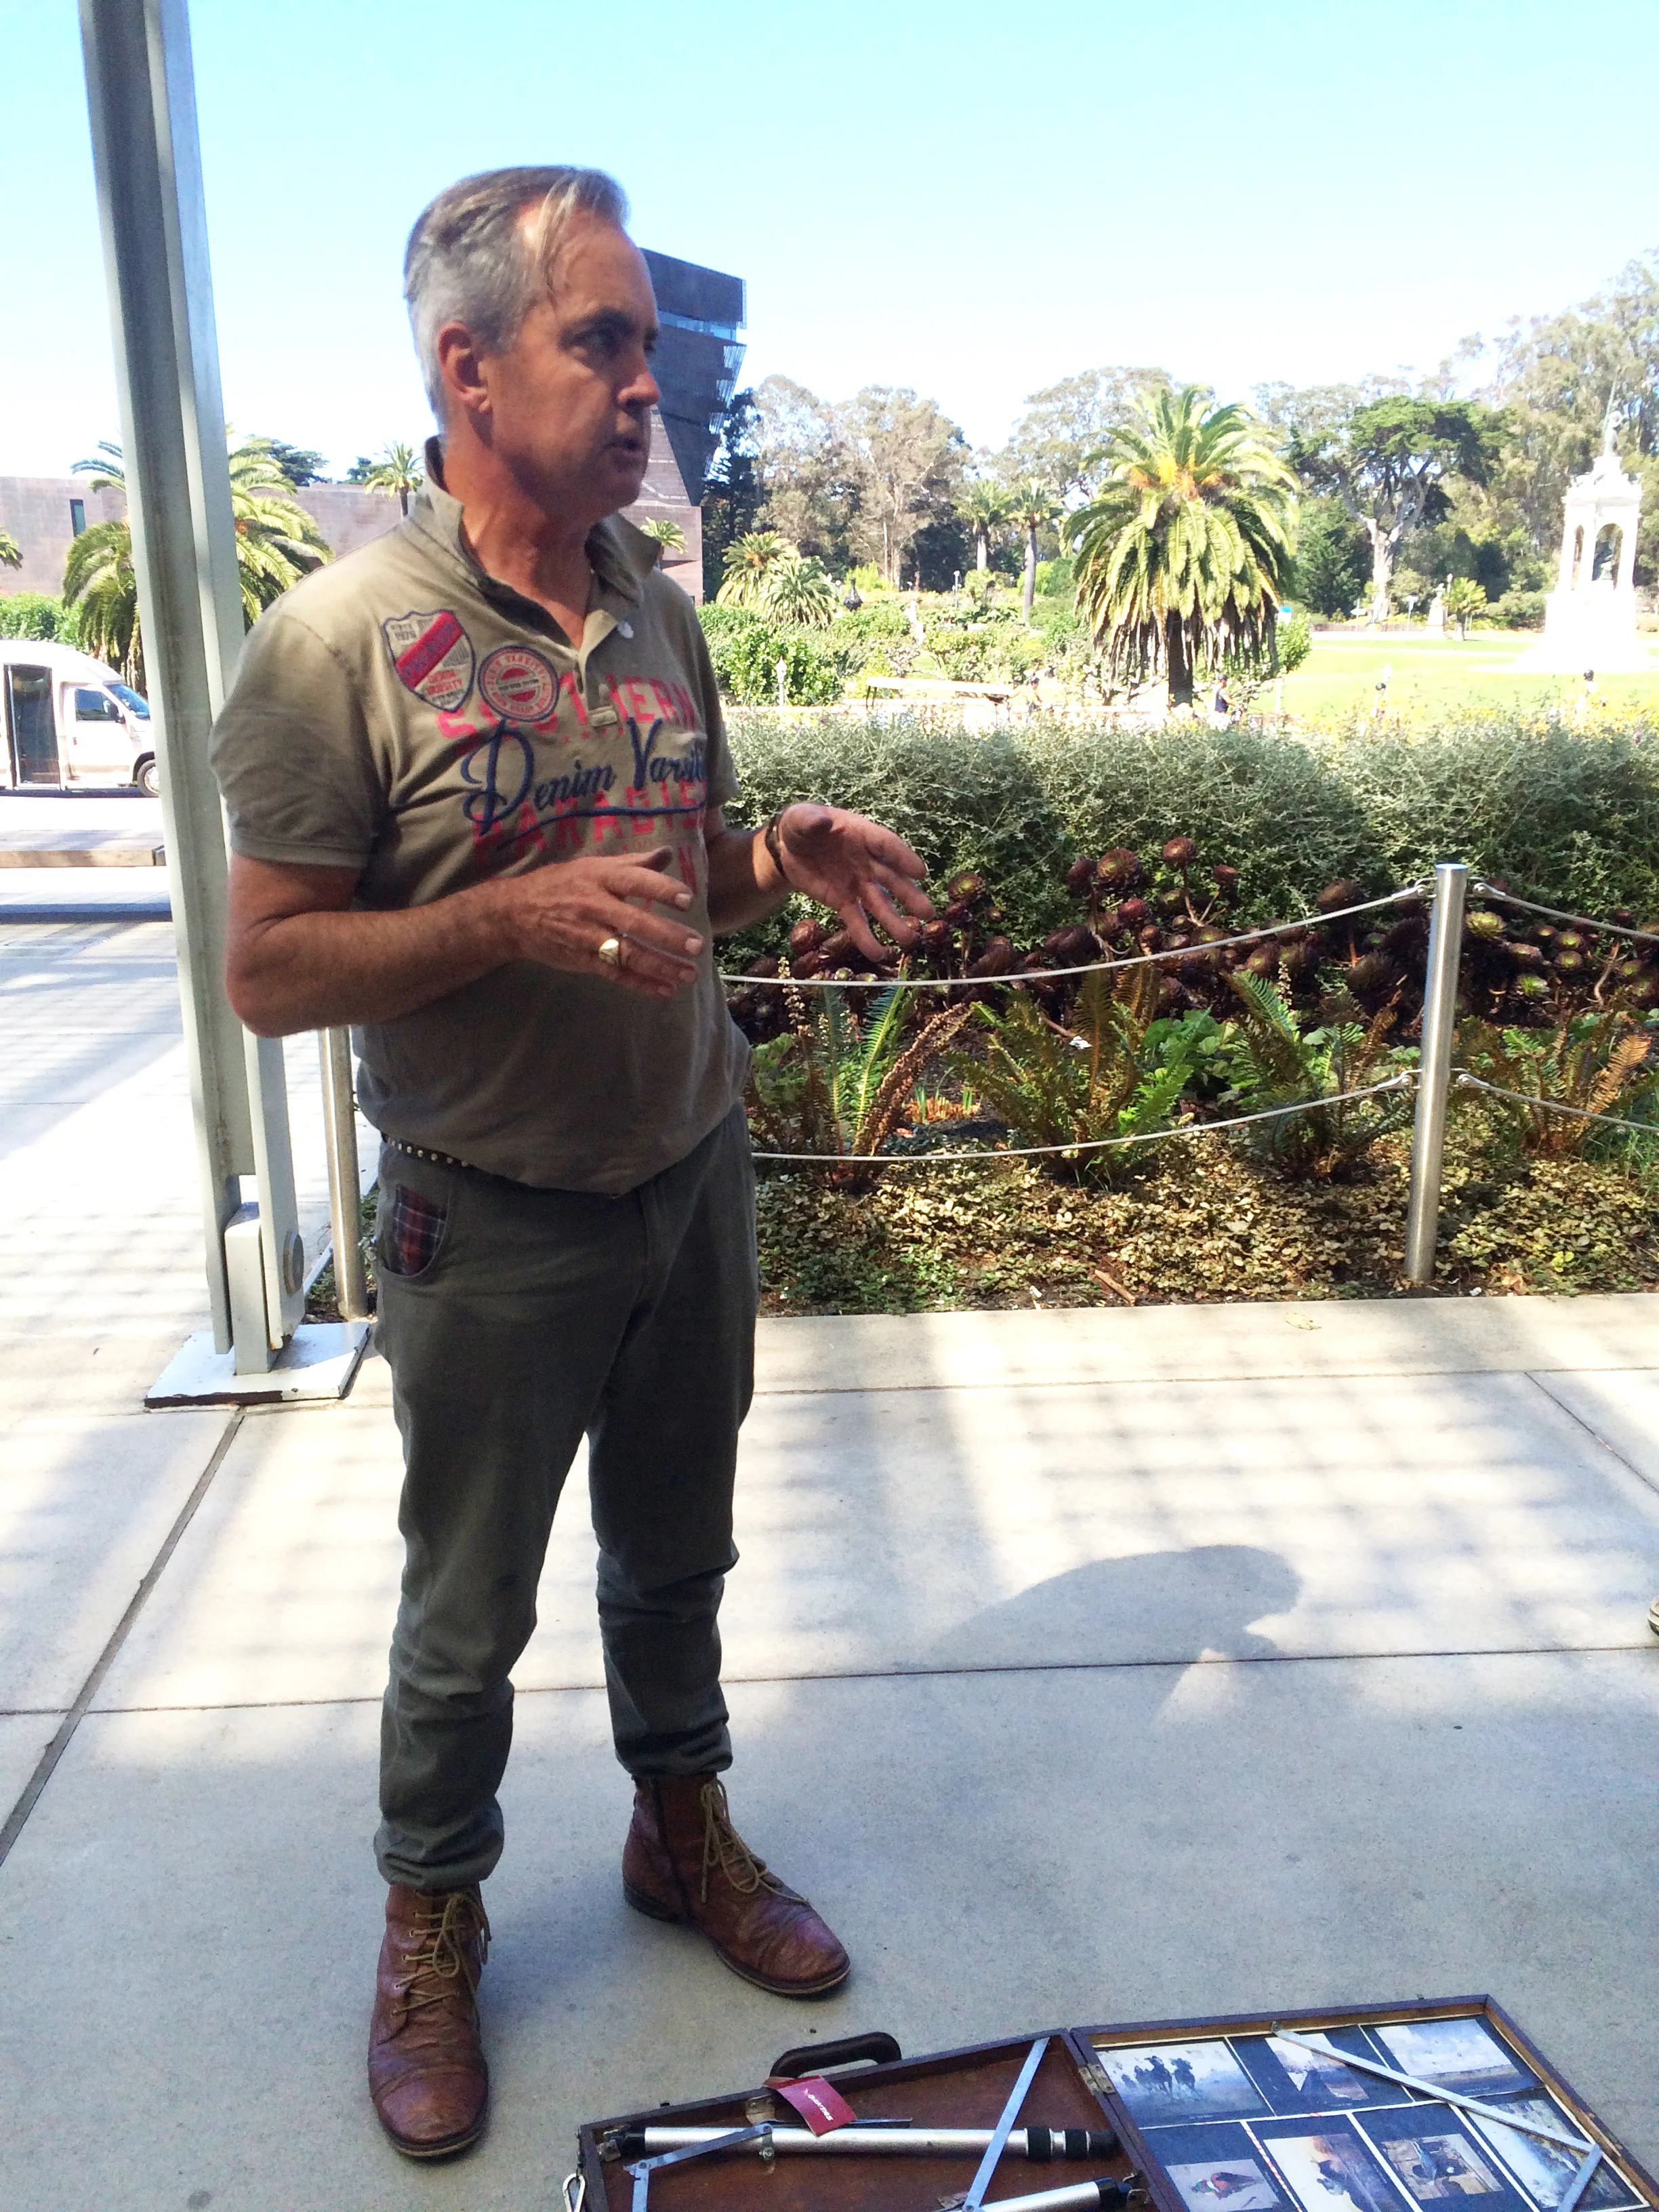
It's worth mentioning that, of course, we also work from photos. In the first workshop, Joseph did too. He had them printed on paper, like this-

He would pick one, and then play with the composition. Adding a structure for balance, if need be, increasing highlights here and there and softening the background a bit (to push it back) with chalk, darkening up certain values to push contrast, and verticals if need be, etc. In this photo below, on the left, you can see the photo with his work on it. He added an extra flag in the distance, pushed a taxi into the midground for color, and really highlighted the umbrella on the major actor.

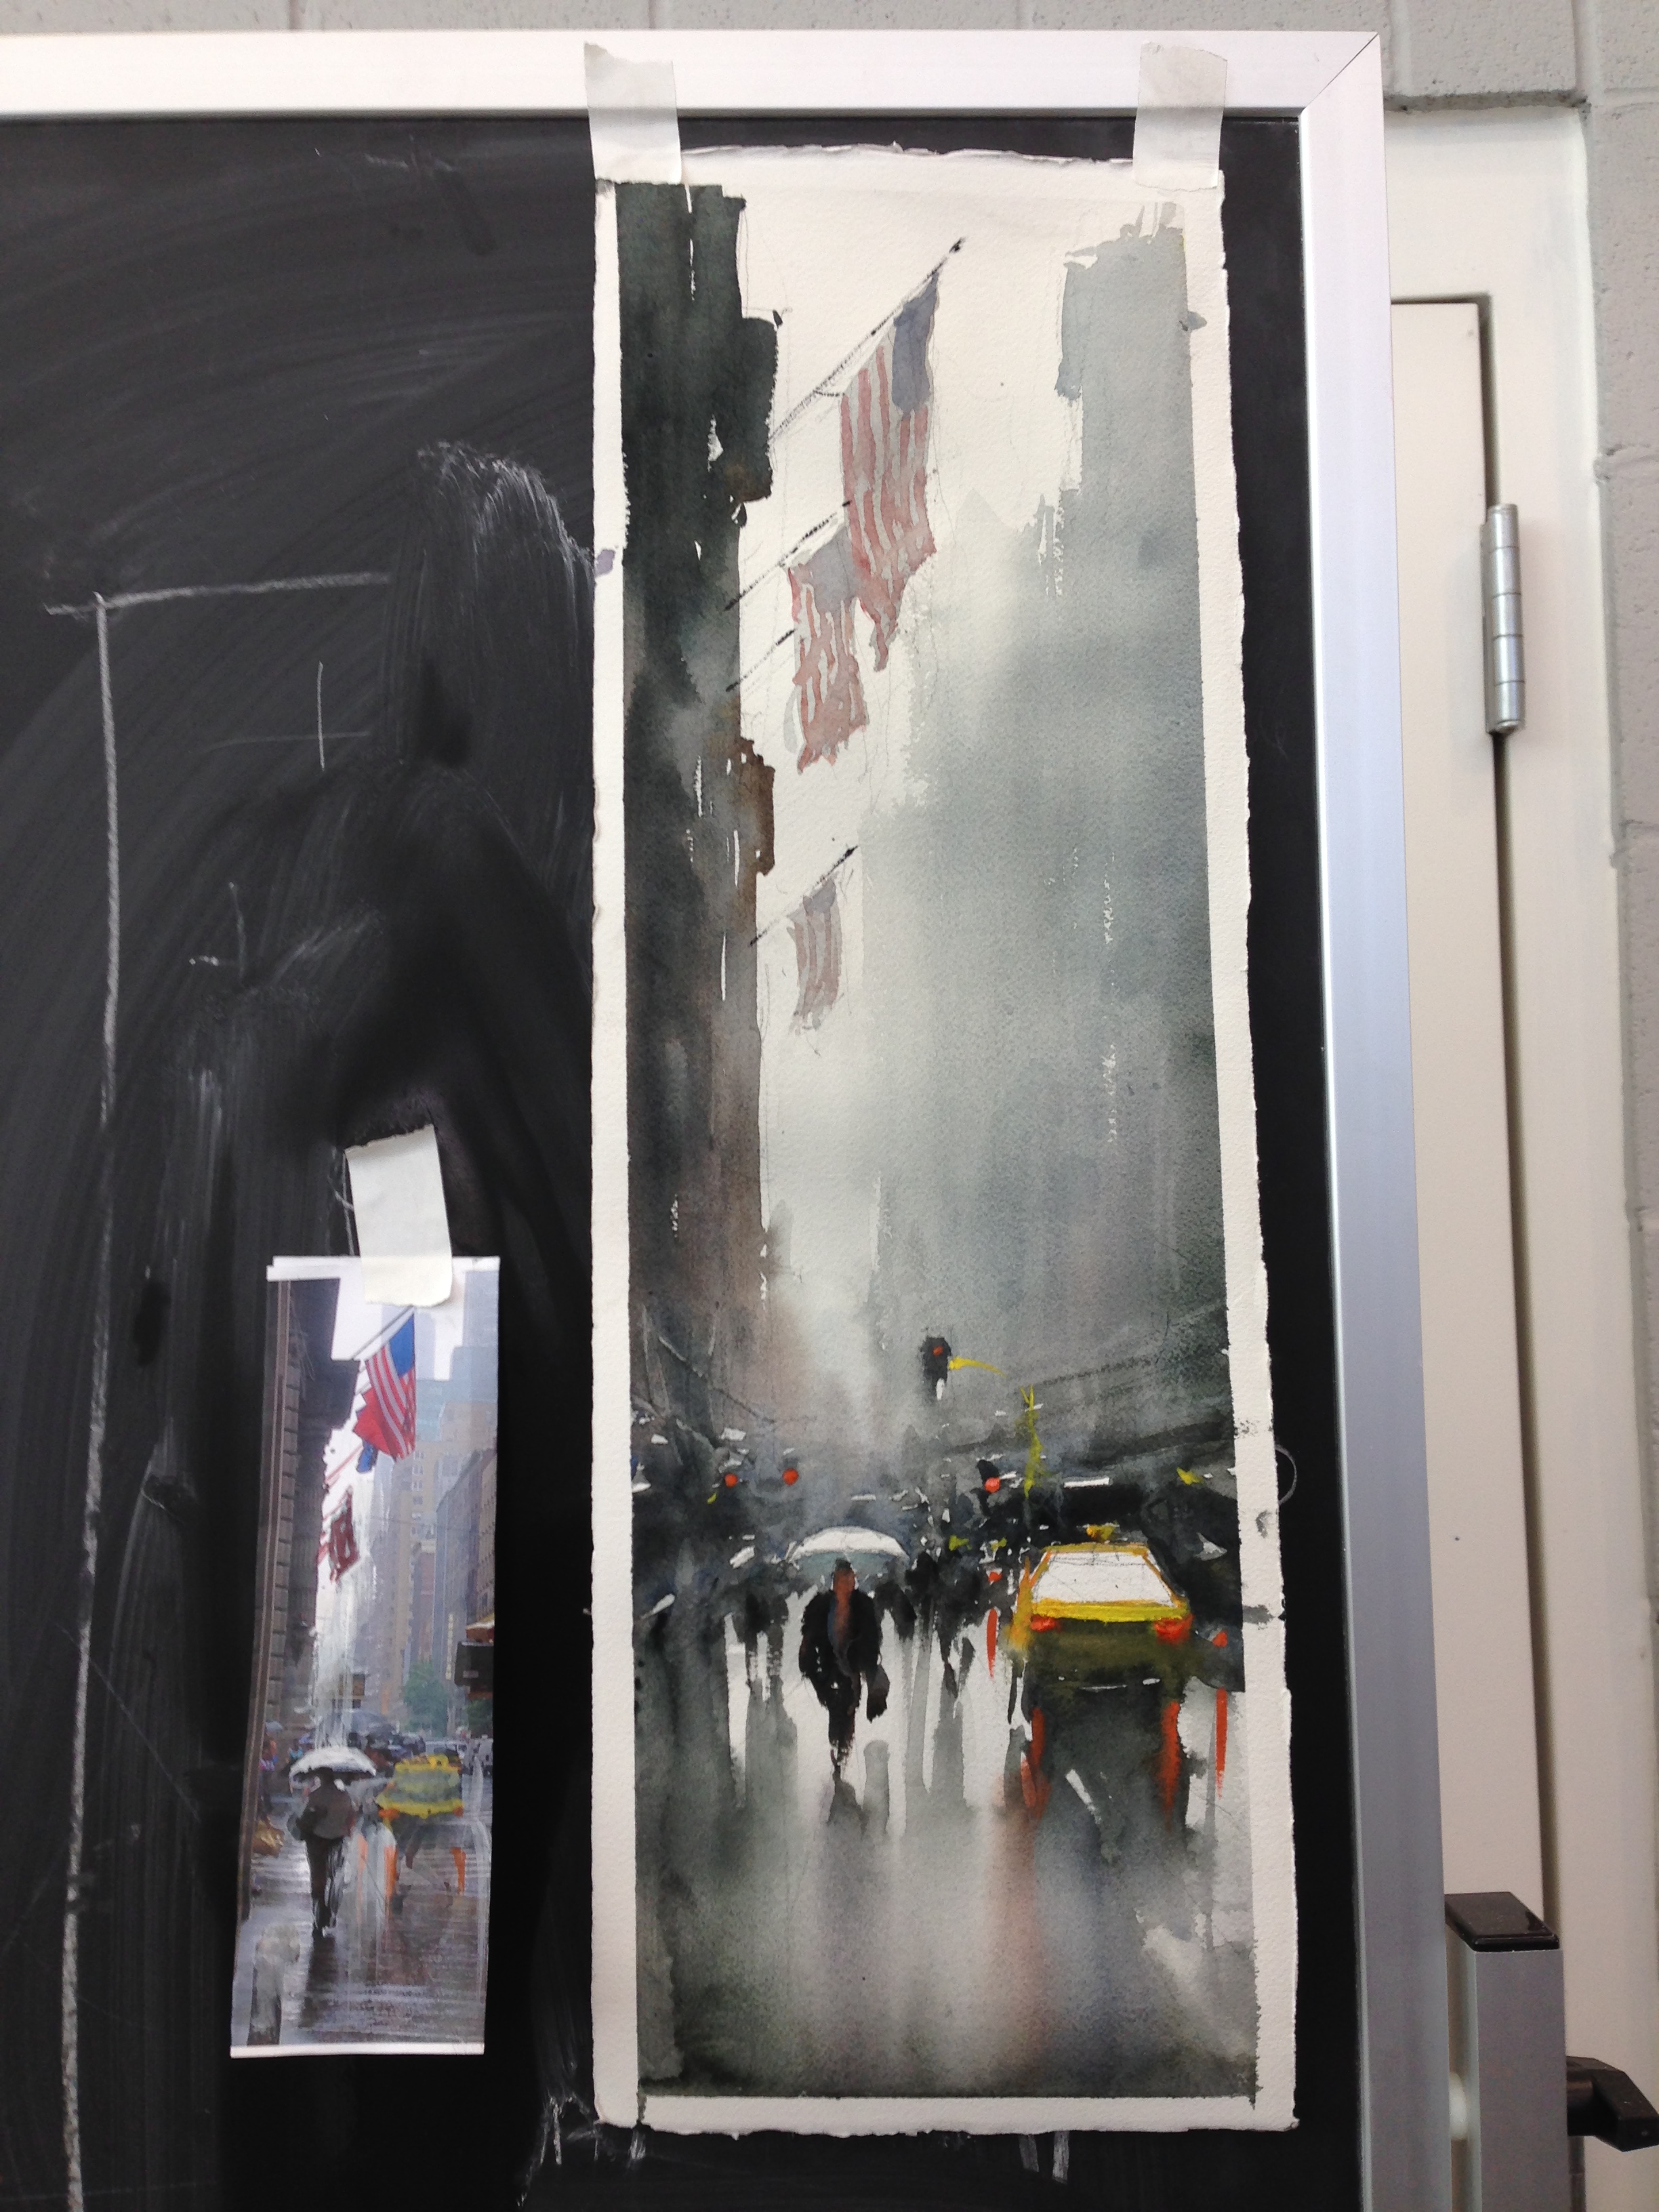
In the painting, you can see how these things bond together. It's not meant to be a replica. Certain values are clearly darker, so the composition reads better and your eye is led. Notice too, how he's pushed the major actors back a bit, to provide them a foreground or stage.
The point isn't necessarily that we all need to start marking up our photos like Joseph before we paint them, but that these were good examples of how much "brain work" goes into the painting's composition before he starts "painting". Even for photos.
Funnels and Hooks, or Visual Velcro-
Joseph brought this up to me over the week more than once. He used the idea of "funnels and hooks" to describe how you could create "Visual Velcro" to make the shapes connect and overlap. It reminded me very much of Chien's "No Wholeness". Whether these were verticals (like pale-valued smoke in the distance, masts, or telephone poles) or horizontals (like wires, docks, or cast shadows), the goal is to weave your shapes and values together, and bridge the distance between the foreground, middleground, and background. If your subject doesn't really allow for this, then that is a problem you need to remedy. Or you need to choose a different subject. Or you need to change your position until you find those visual elements that will help you bind your shapes together. Or you invent them.
Sketching-
I'm going to spend a bit of time on this because its the first, sneaky instance where I feel like a lot of painters make physical mistakes on the canvas, and its sometimes hard to get past them later. Of course, you need to understand perspective, and how to do a gesture drawing for a figure in motion, etc. So, that's a requirement that's hard to get around. But after that, a lot of sketches are, in my opinion, too detailed, and hamper later expression and freedom with the brush. The too-tight sketch seems to frequently produce tight, controlled paintings. The goal is not to make a nice drawing. The goal is to use your pencil to block in the relationship of shapes and values that you've already figured out, so that, later on, you can use your brush with greater confidence and abandon.
“Drawing for a watercolor," Joseph said, "is not like drawing as an art, per se. It is a map, a guide for the laying down of paint. Let your brush paint your painting, not your pencil.” This was the basic principle that I thought guided his pencil work. Sometimes he would hold the pencil as if he were going to write, but his lines were very loose and light. Sometimes he held his pencil very loosely, almost by the end of the pencil, such as in the picture below. But either way, the sketching process was something that was over in a few short minutes. Never too labored. Never too dark. It's only a map, a guide for your later values and shapes.

"When sketching, build your basic shapes and then start with your actors. From there, build your image around them and their scale. Don't just 'attack' the painting. Locate each shape and subdivide the image." So, first things first was to put in the horizon and make the two biggest shapes- Heaven and Earth, Foreground and Background, Stage and Setting (Big Idea #1 again!). From there, he would populate it with the Middleground/ Focal Point/ Actors, either very loosely for free shapes, or with a bit more deliberation for manmade and living shapes. The goal was to locate the primary subject (the Actors), and then build outwards from there, in proportion. It's worth noting that he was fine with us making a few tick marks here and there on the tape, to divide the paper into halves and quarters to better locate various shapes in equal quadrants.
Here are some of his sketches next to the finished paintings, demonstrating some of this-


The first one is full of "free shapes" (trees and distant hills), so his lines are loose and barely there. These are things he'll paint with his brush. He puts in some lines for perspective, blocks out the basic circular shapes of the closer trees, and then spends a bit of time getting plumb lines for his buildings. Basically, no erasing, and no worry. The final result covers or washes away almost all the linework anyways.


The second one is full of "manmade shapes" (buildings, boats, and docks). These are much tighter. They need to have proper perspective, and he'll preserve some white later, which requires accuracy. They're also the primary shapes that the viewer is going to focus on. There are, however, distant shapes in the background, and they're barely drawn- they're there just to guide scale and composition.
Notice how open the foreground is in both paintings, leading the eye in, and allowing you to "enter" the image. The heavy lifting of composition is becoming clear here, at this preparatory stage, not later.

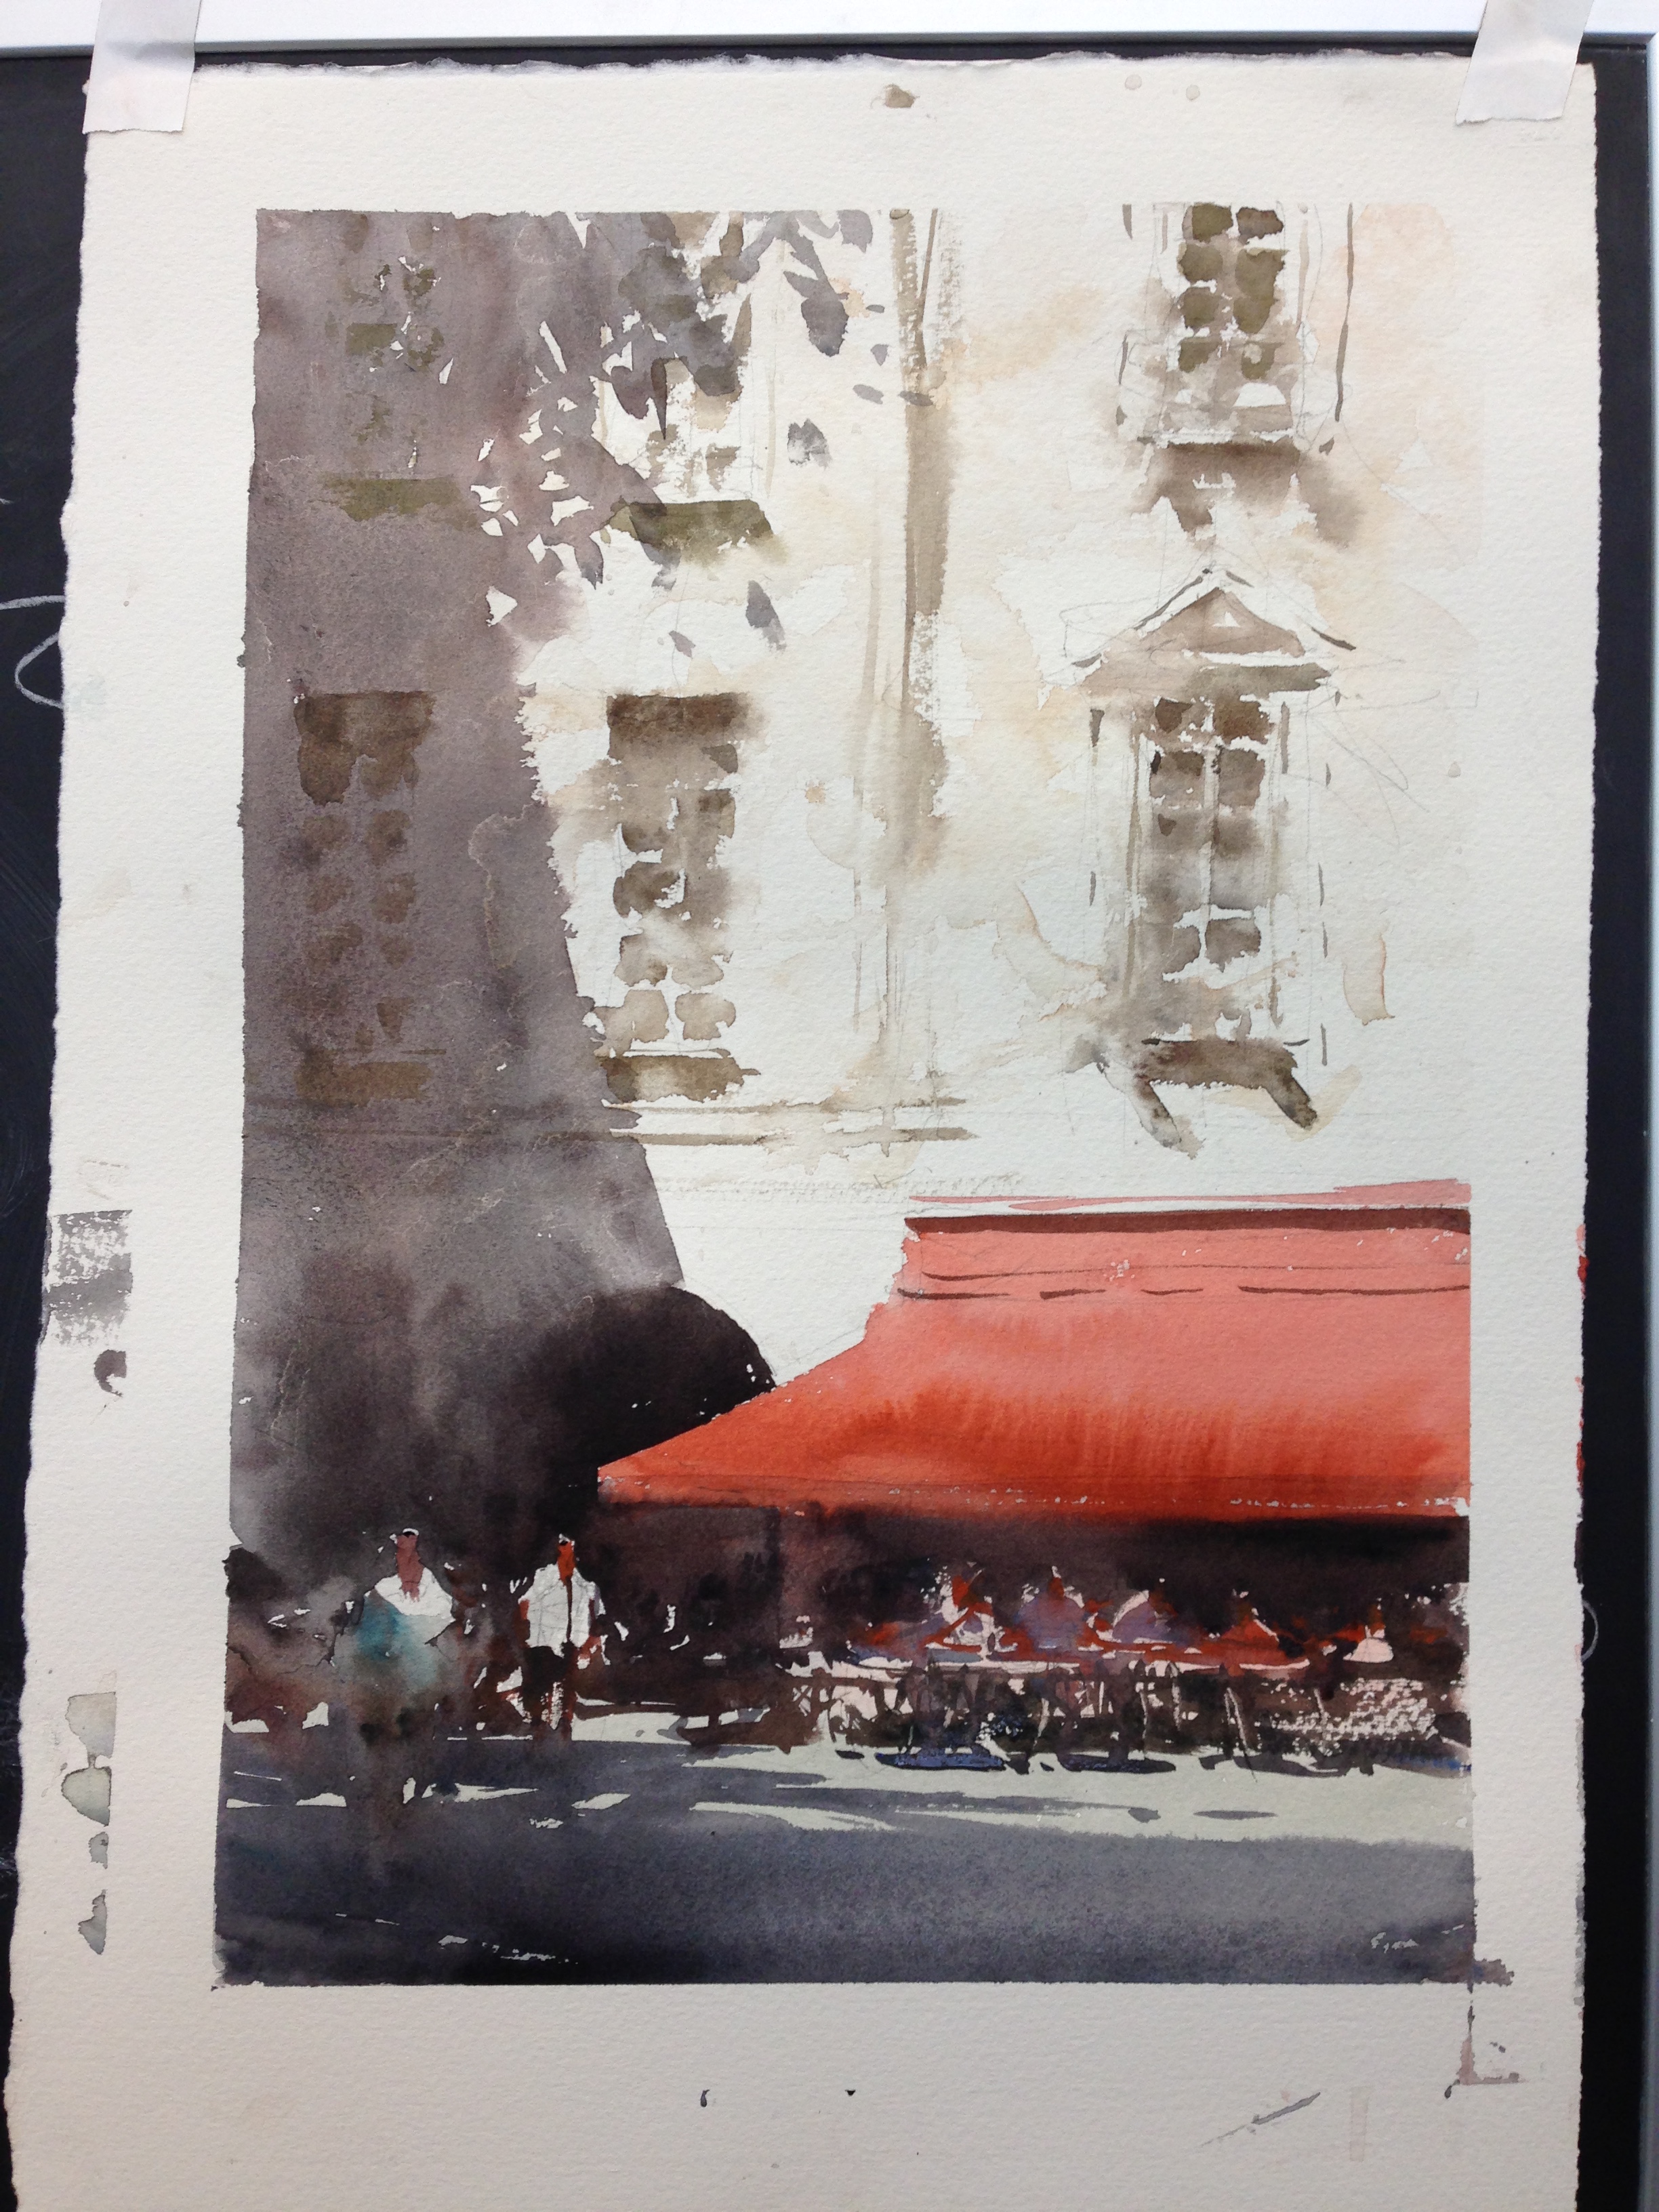
This next one is all about Manmade and Living Shapes. There are no Free Shapes. (They all cost a dollar! LOL). Seriously though... What's most interesting about it is that there is a distinct lack of detail, despite lots of busy loose linework. Note the lack of carefully drawn windows in the building. The painting is not "about windows," so he doesn't spend a lot of time getting them all just right. Even the people sitting at the tables are all very loosely put in, because abstract brushwork (much like Chien's!) will bring them to life. Only the boldest shapes with the biggest contrasts are really blocked in- what will be a dark archway on the lower left, and the awning to the right. There was one Free Shape actually- a cast shadow of foliage in the foreground- but it was so loose, Joseph didn't even sketch it in.


This final one, done plein air, has all 3 types of shapes. First, he knocks in the horizon and the line for the beach. There's a mountain in the background that he barely draws in-- it's a Free Shape that he'll let his brush build. Same goes for the trees in the upper left, where he simply blocks in the fact that there will be a change in value against the sky and then leaves it alone. For the primary Manmade Shape (the building and dock), again he makes sure it's plumb and that it has correct perspective. He'll have to cut around it, so it's shape is important logistically. He blocks the boats in, but they're distant, so he doesn't spend as much time on them as he did in the earlier sketch. Then the Living Shapes come in on the beach, in the middleground, but by this time the image is largely already built. They're the details that get all the credit for the heavy lifting the bigger shapes are doing compositionally. They do, however, act as vertical "hooks", bridging the foreground and midground. They could all just be lying on the beach, but they don't- their shoulders and heads connect the shapes of the water and the land. The foreground is more shallow than before, but its still there, and it leads you in.
And that's it for today. Phew! I'll be covering technique in the next post- brushwork, wet into wet, etc. I'll be sharing demos for the sketches I've shared as well, over the next few posts. Stay tuned! :)