The Joseph Zbukvic Workshop, pt. 1- Overview & The 3 Big Ideas

I know I just finished posting about taking a workshop with Chien Chung-Wei back in August, but by a serendipitous twist of chance, I had already, over a year ago, signed up for two 3-day workshops with Joseph Zbukvic through the CWA, which ran from 9/14- 9/20 in the SF Bay Area. And so, here I am again!
The workshop was relatively small, only 15 people in each one, with a few folks overlapping between both. This was very nice, as you got a bit more personal attention from Joseph. The first 3-days were spent primarily in the studio up in Concord, and the second 3-day workshop was almost entirely plein air around San Francisco.
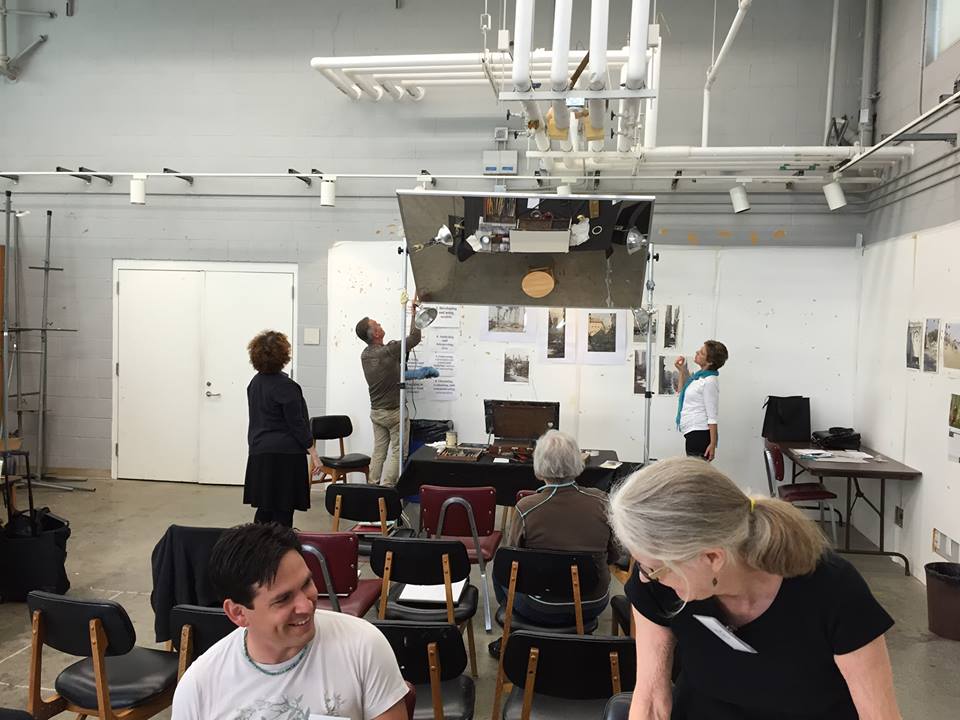
From the first workshop. That's me in the bottom left. :)

From the second workshop. All of us down by the embarcadero.
Joseph can be a bit of a stern and direct teacher at times (old school!). "There's a thousand ways to correct a painting," he said, "but only one way to do it right!" Presumably the easier way. So, we worked on doing it right from the get go, instead of learning various ways to fix things. However, he’s also very mellow socially. After each day of classes, we all went out to a local bar and shared some beers, snacked, and talked about “anything but shop.” :)

Some of the first workshop students out for a drink and dinner.
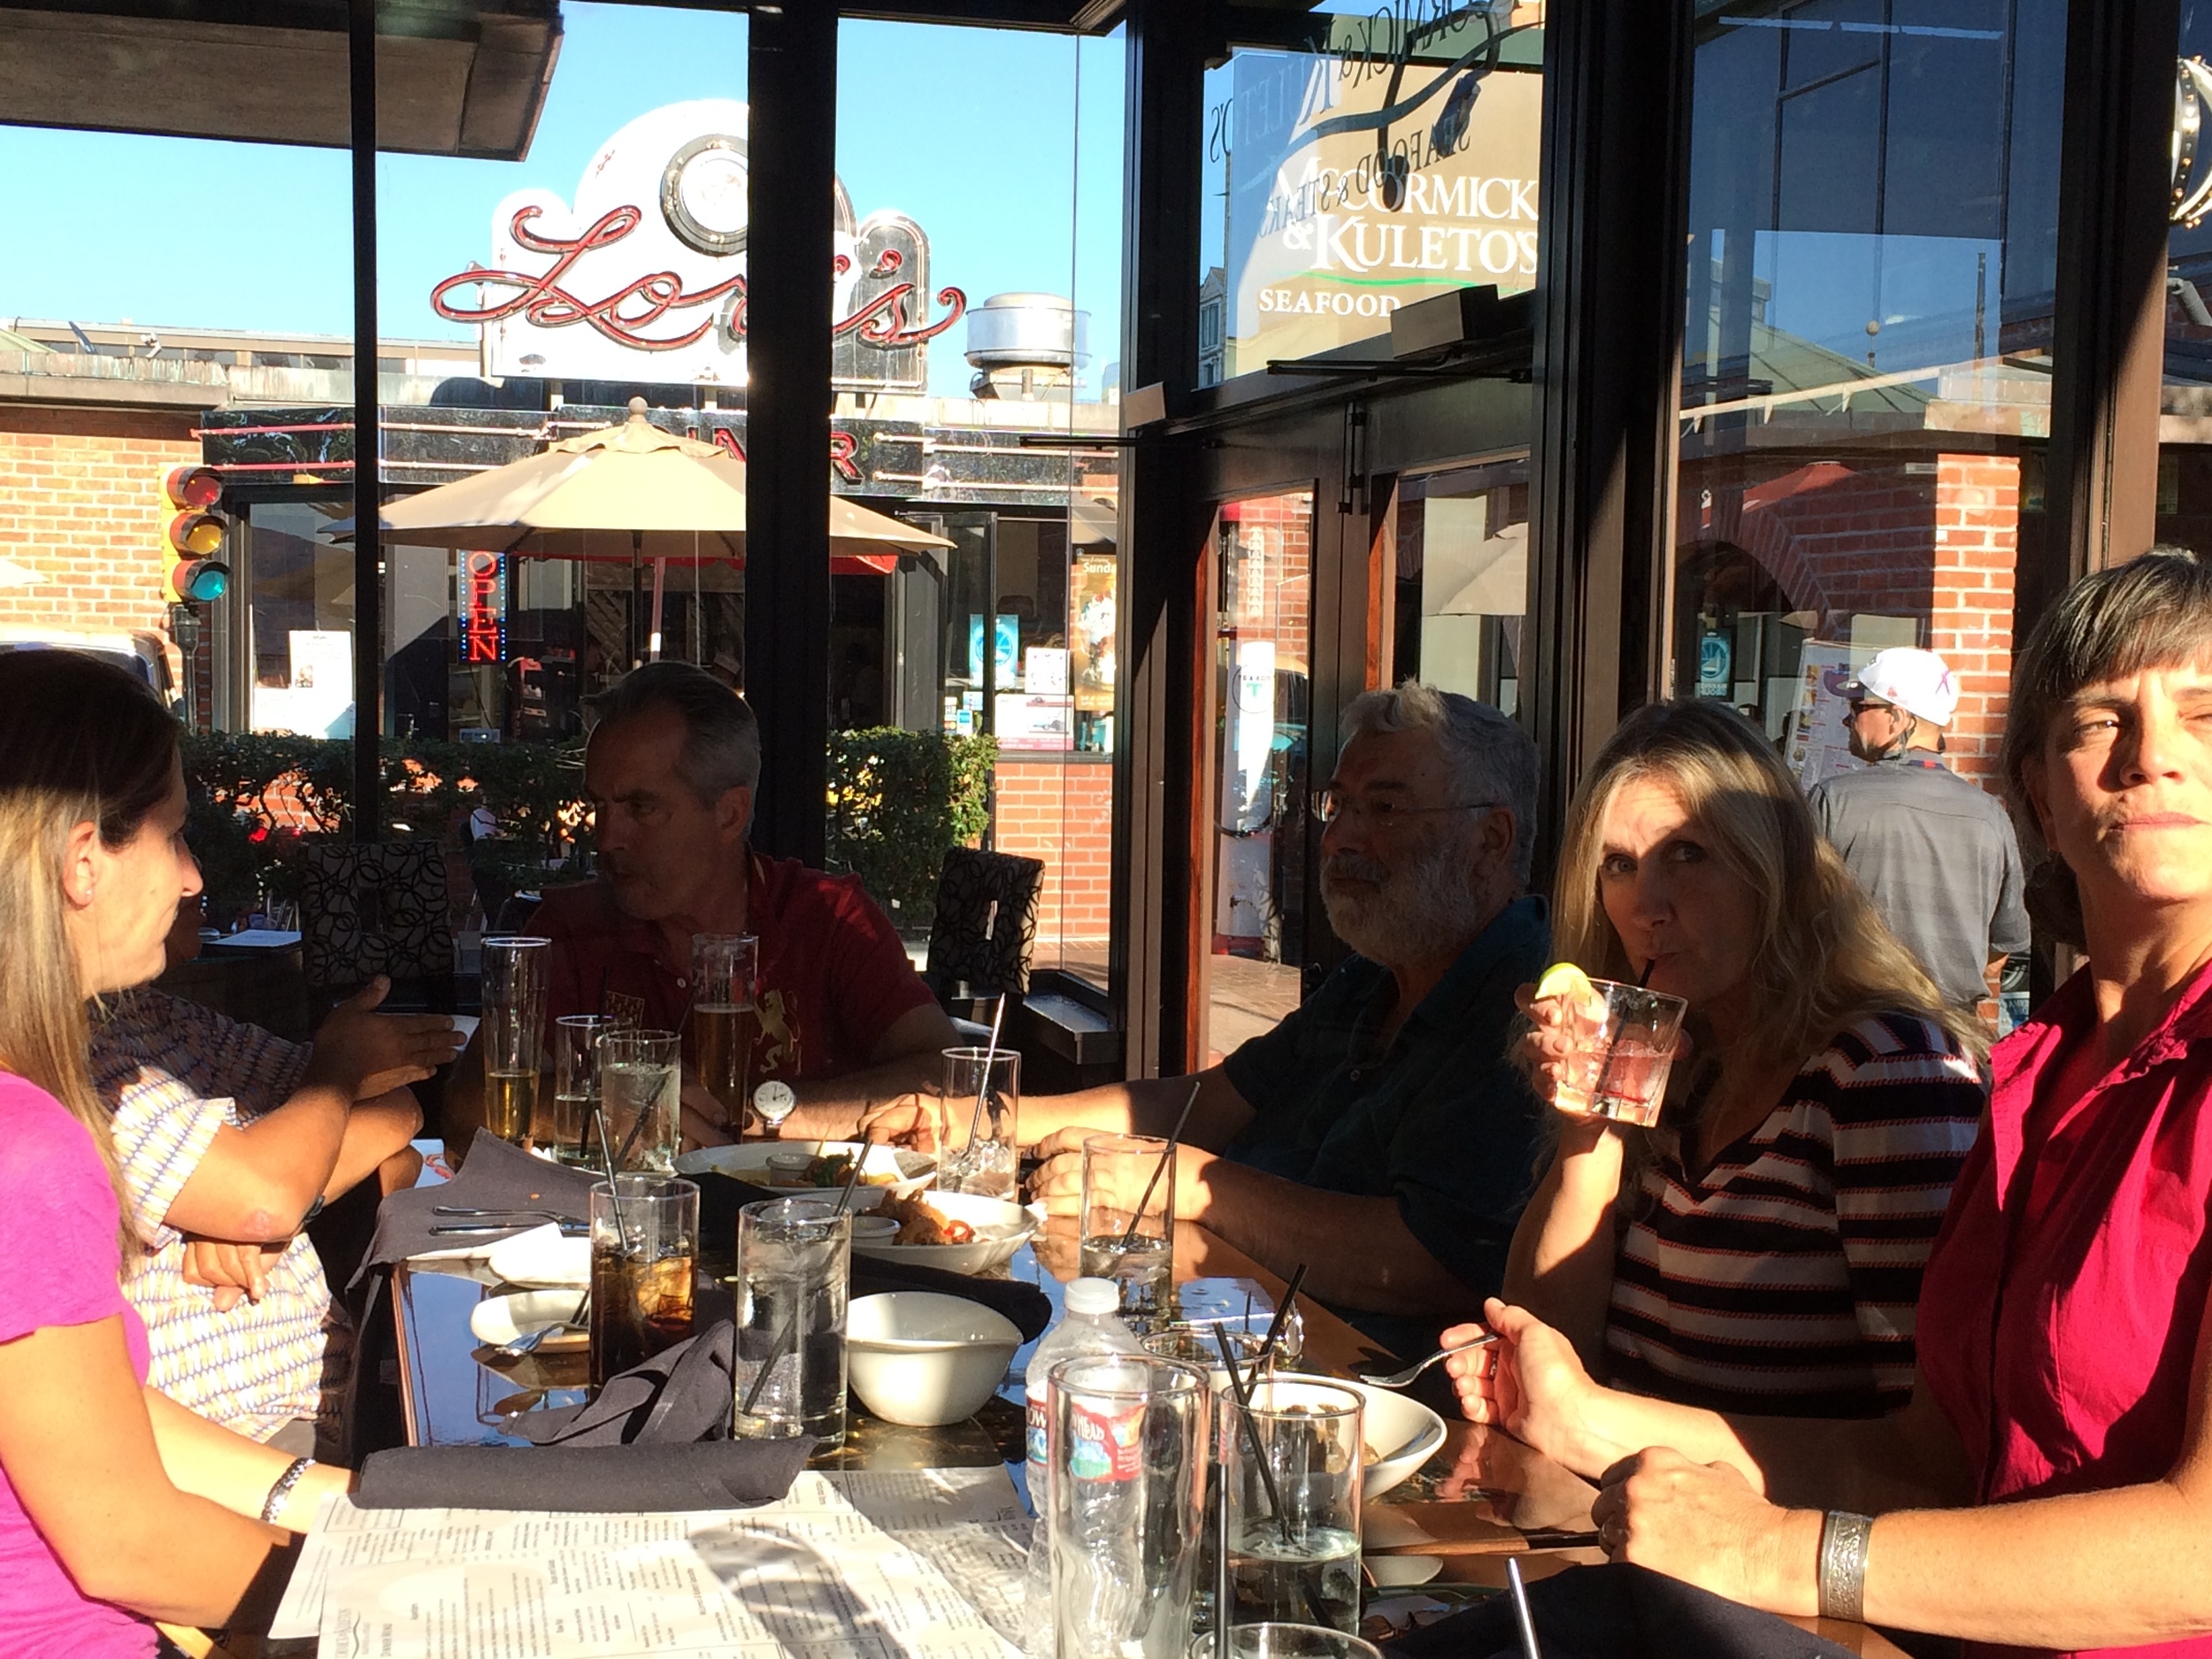
Joseph liked to move around and visit with different folks.
Of course, among ourselves we still talked shop, between plates of nachos and fries, and this was honestly one of the real benefits of the experience. Lots of great artists were there, including many experienced oil and acrylic painters that were being very daring and trying a new medium! I cannot stress enough the pleasure of connecting with so many fellow dedicated artists. If you get the chance to do a workshop like this, that's a big part of what I've gotten out of them, beyond technique. You can learn a lot from each other, and make a lot of connections.
I’ve written about Joseph before, in my previous three-post series of“Cliff Notes” for his book, as well as my reviews of his DVDs. You can find all of these links consolidated on the Book and DVD Reviews page. In the Cliff Notes in particular, I've covered some of the essential things like using The Watercolor Clock, working with “Mr. Bead”, using a Mother Color, applying “the jewelry” to a painting, etc. So my intent is not to focus on that info so much, although he reiterated a lot of it in class and used it as a jumping off point. Hopefully, folks who don’t know Zbukvic’s methods at all will take the opportunity to read over those resources and use them in conjunction with these new posts.
Instead, I’m going to focus on what seemed new in the workshop, given some familiarity with his work, as well as what I saw as the three big, overriding, repeated learning motifs.
The 3 Big Ideas-
1) Foreground/ Background/ Middleground OR Stage/ Setting/ Actors-
This most fundamental of compositional concepts was very important to Joseph, and, as I see it, if I ended up understanding nothing else, learning to apply this would eventually lead me to many other lessons on my own. Because it deals with shapes, this idea relates to almost everything else Joseph taught- choosing your subject, using "velcro" to connect shapes with "funnels and hooks", how to sketch, the steps of painting, etc. So, I'll be talking about this a lot, through many different prisms.
2) There are 2 simple steps to the painting process
This might sound very simple, but it was repeated very, very often. Of course, he sneaks in there and finds ways to explore, expand, and complicate the process, but the basic idea remains the same. First, using Mr. Bead, you paint the lightest values for Heaven and Earth (aka Background and Foreground) cutting around your highlights. Sometimes it was two shapes (sky and foreground) with a seam of preserved white paper in between. Sometimes it was done as one big wash. But either way, you then let that dry 100% before you moved on. All the way. Yep, 100%. Then you enter step two- you populate the midground with your Actors, build some distance if need be, accentuate the foreground, etc. But all that happens after the first wash has finished and dried. This is how you control your edges and shapes. A lot of this should become clearer as we go through the various step by steps.
3) “We are painting with watercolors.”
When we got down to technique (brushwork, wet into wet work, the jewelry, etc), the goal was often to set a process in motion and then to guide the water and pigment, instead of dictating their actions. This is where understanding how to use the Watercolor Clock was critical. Essentially, we often need to get out of our own way and let the paint work its magic, instead of trying to fix everything. "Watercolor paints itself. It's our job just to help. We're the assistant,” he said. “If you place your bush mark with the right amount of stuff on your brush at the right place at the right time, then you get what you want!”
Ha! If only it were that easy…. ;)
Still, with just these three basic ideas in hand, it is easy to wind our way through a demo of his, and see some of what there is to learn-

#1
#2
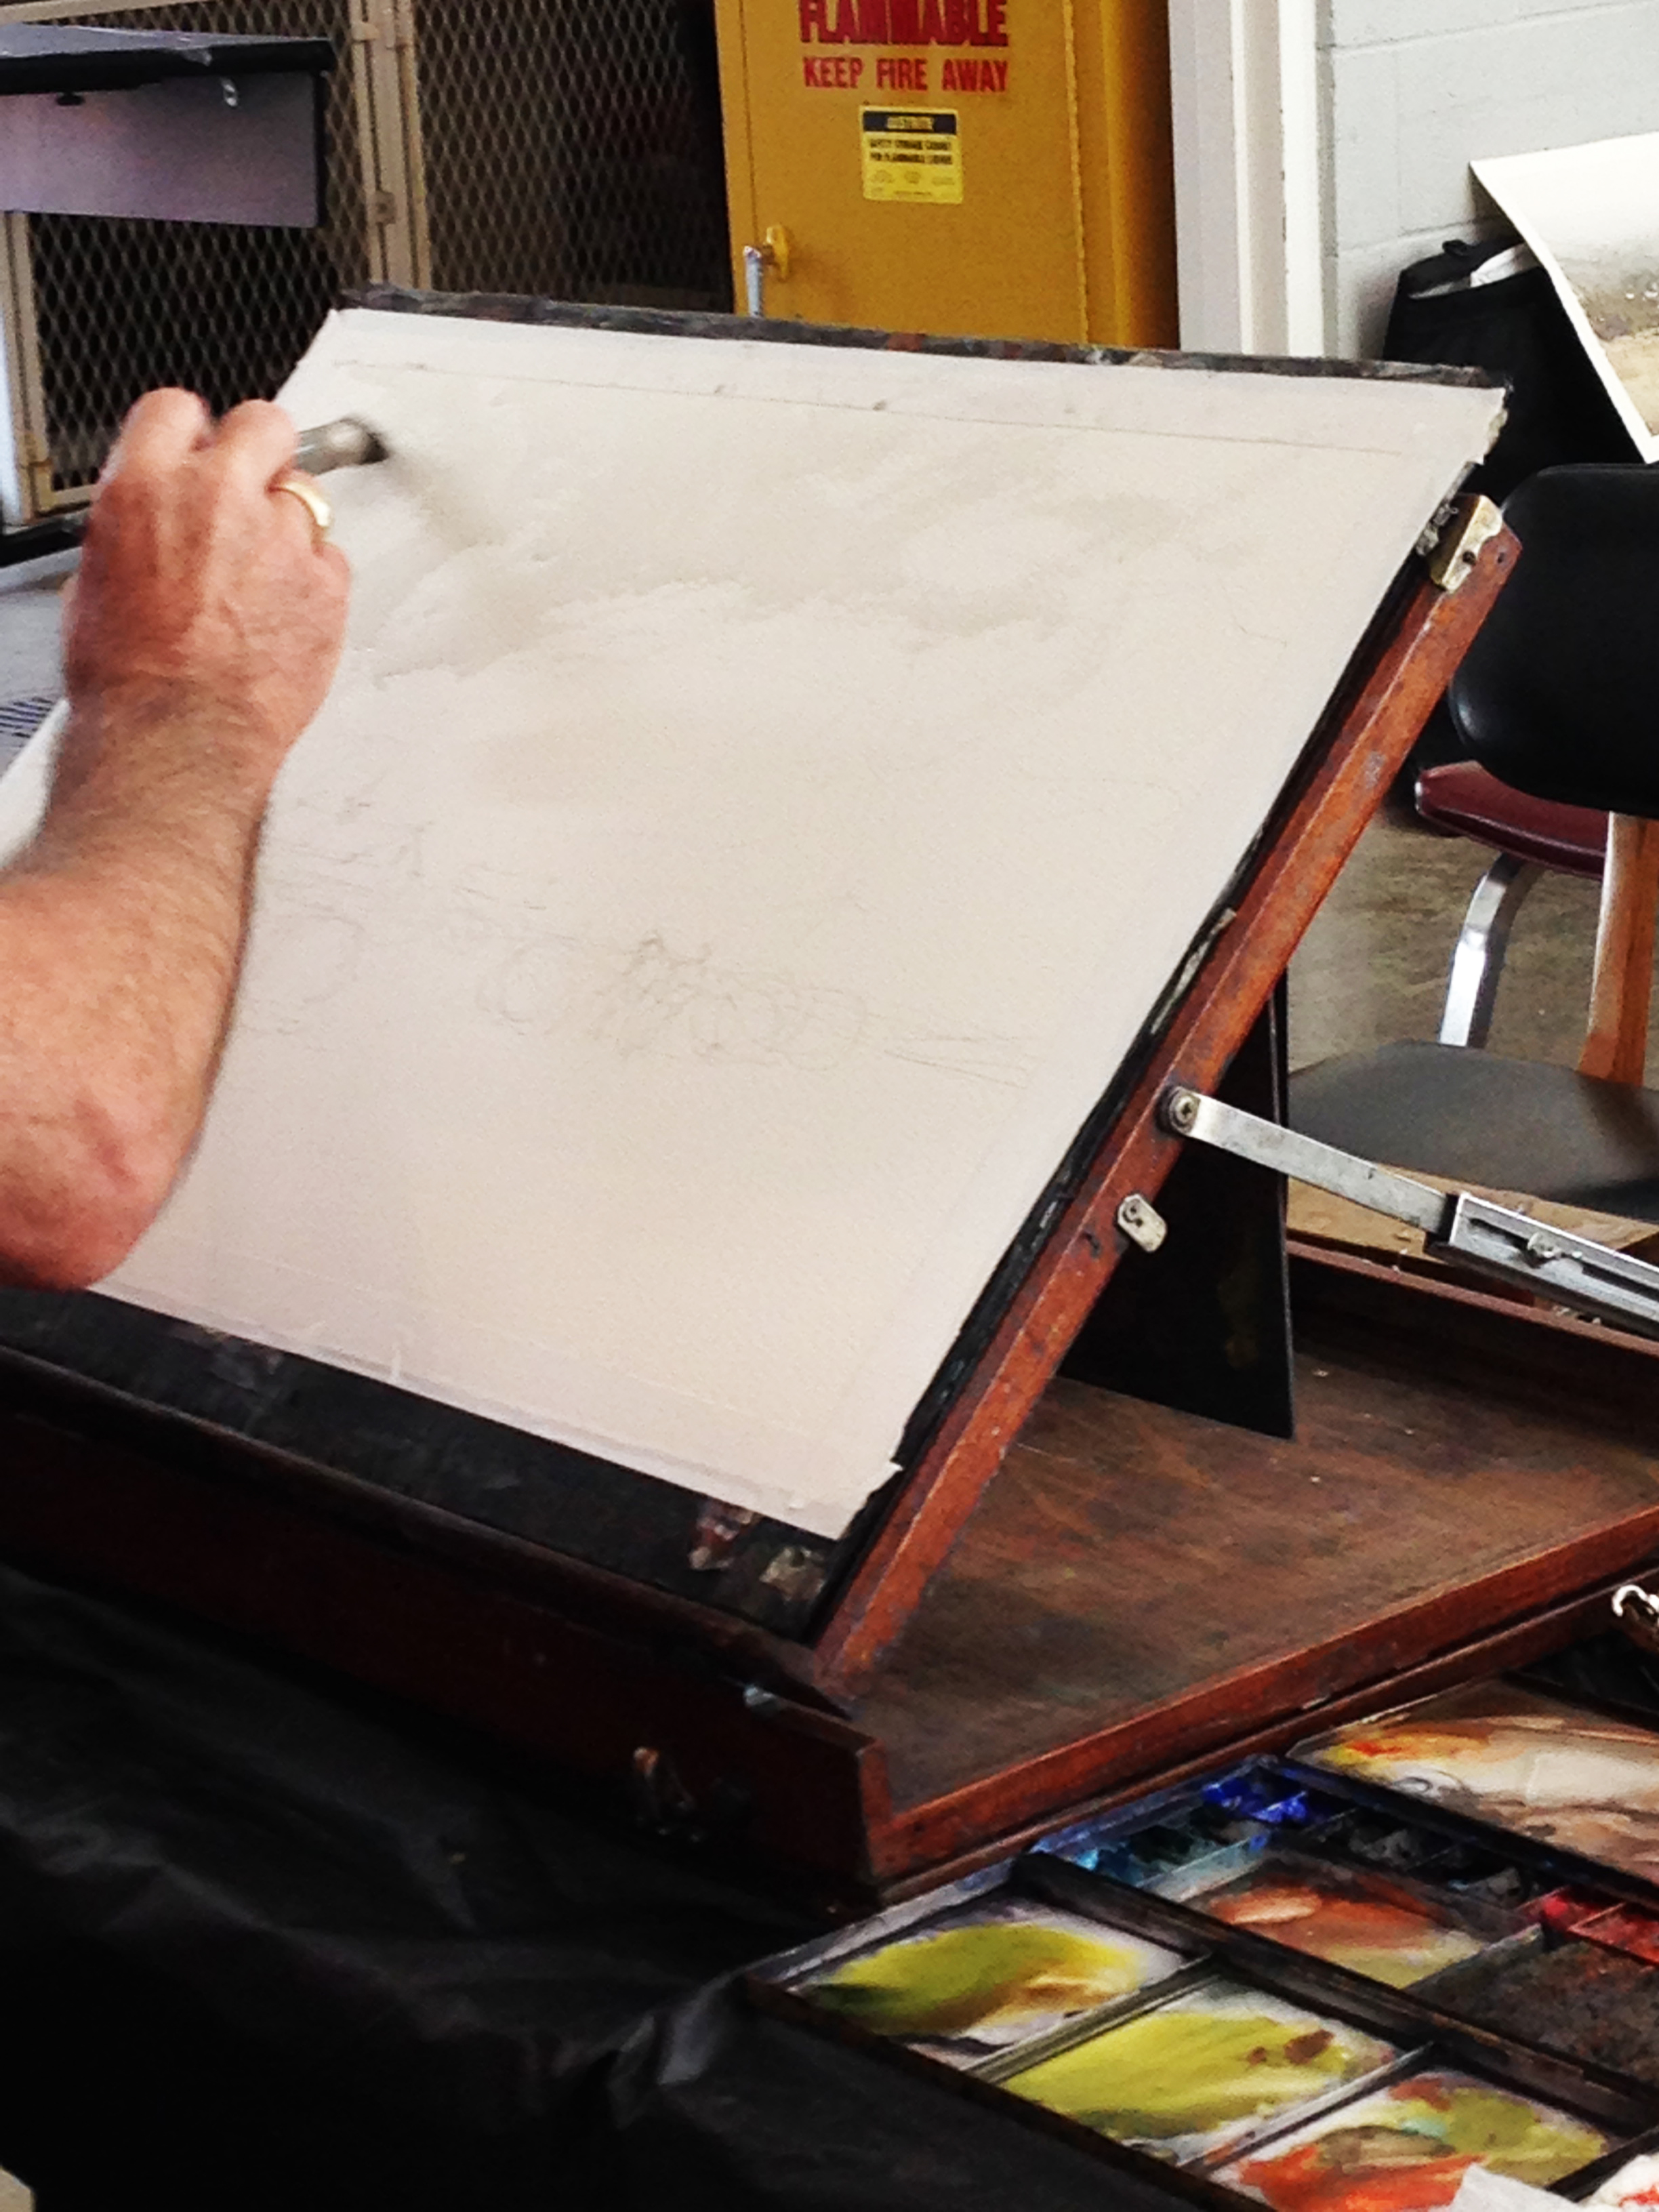
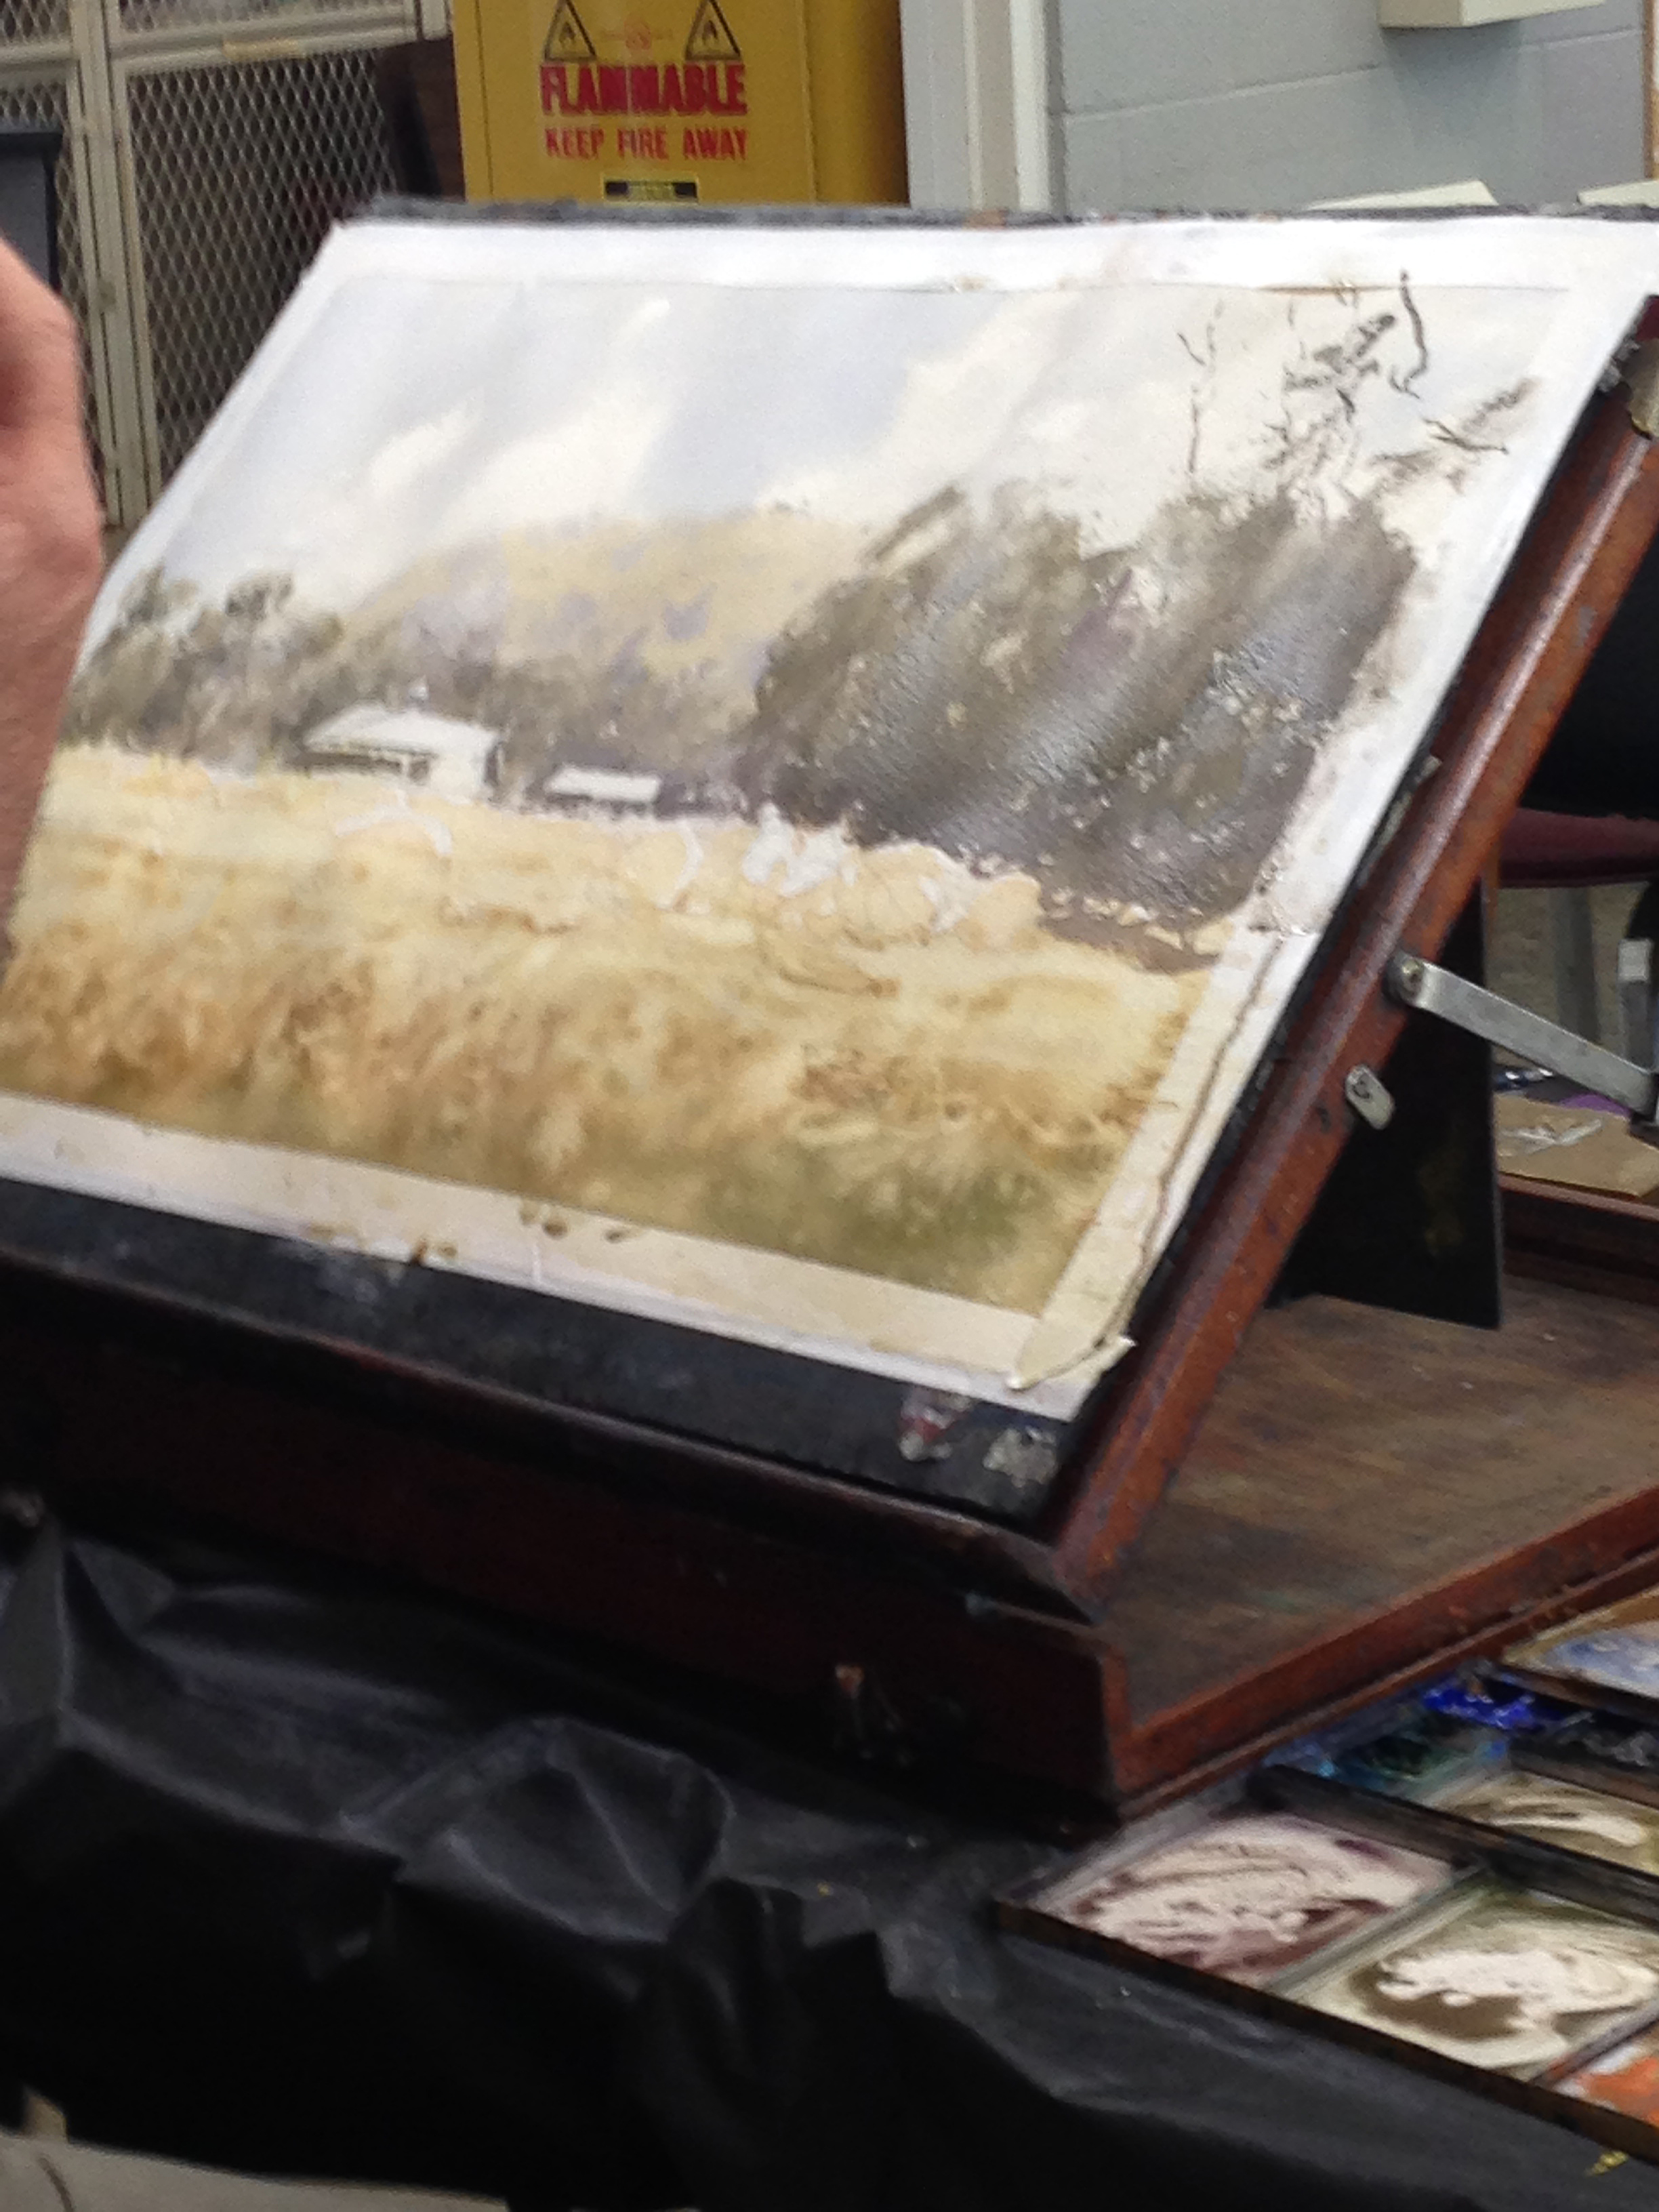
1) Here is the sketch he made. It, like almost all his sketches, was very very loose. When he gets mildly precise, the focus is on the mid-ground, where there are roofs and highlights on the bales of hay that he'll want to keep paper-white. It's just a map for his paint. The goal is to leave things loose, so he can paint the shapes in with his brush, instead of being too bound by his drawing.
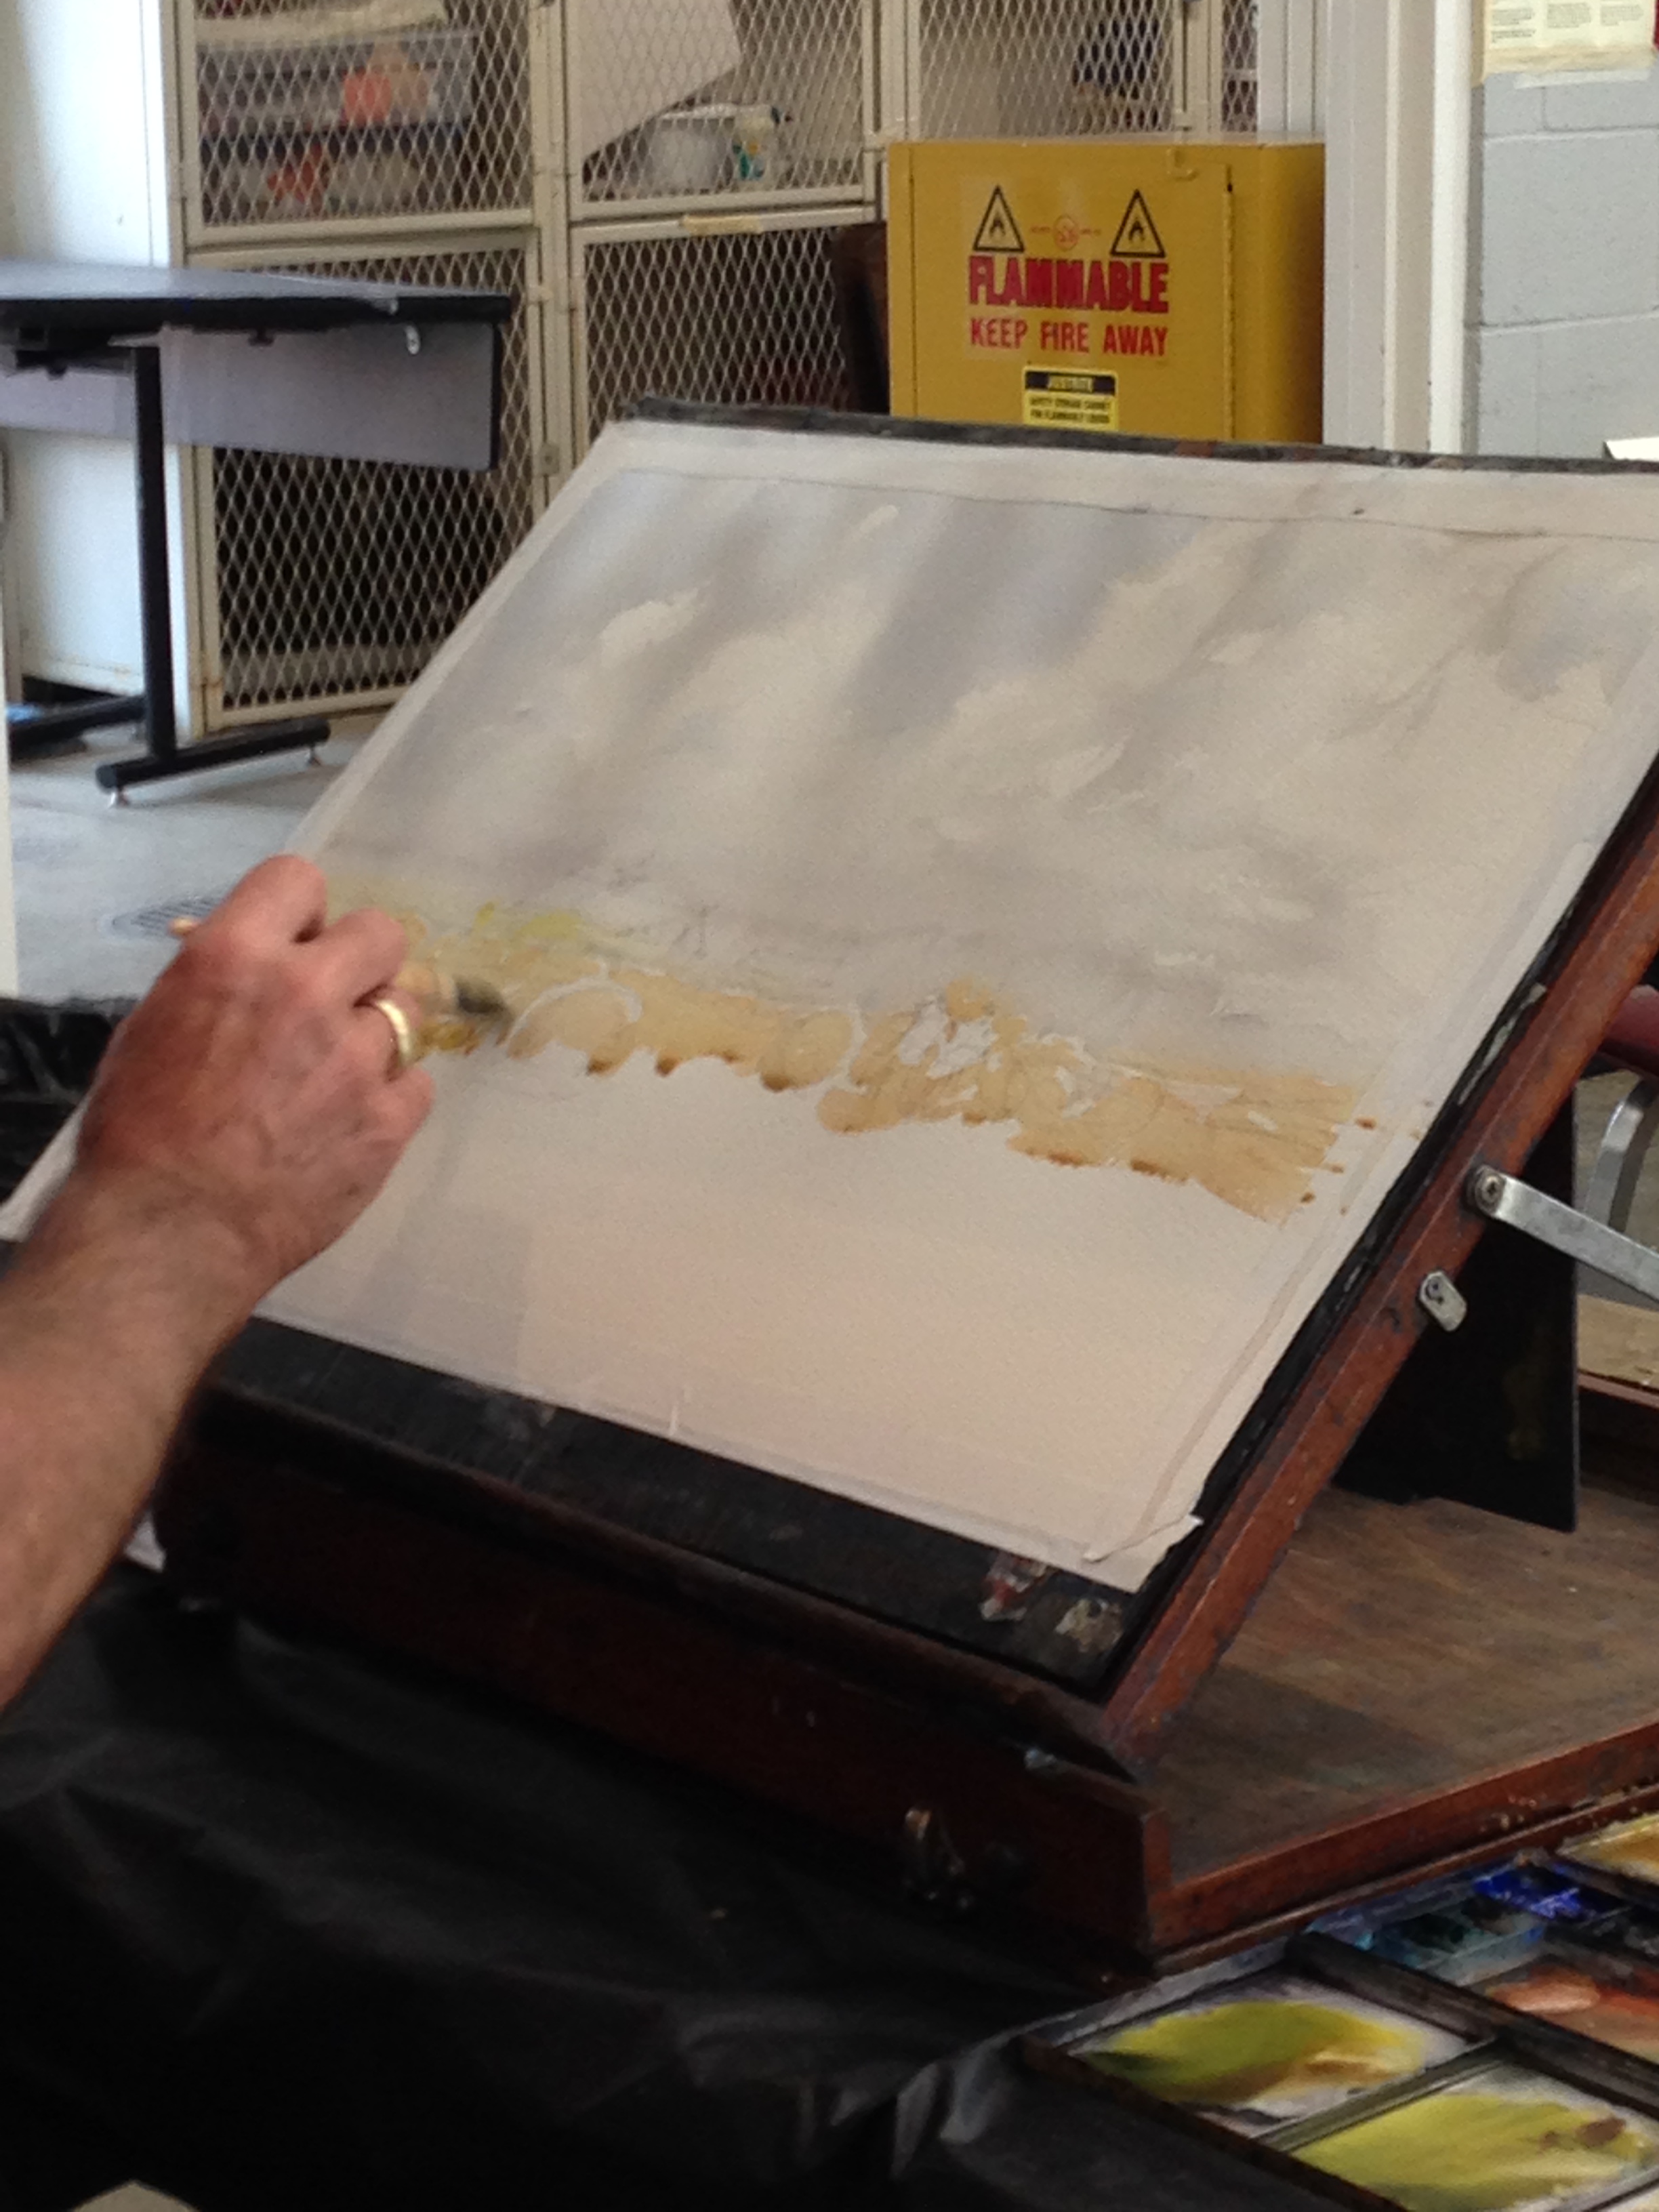
2) He starts with the Sky, but he's going to work his way down to the foreground eventually. So we're already at Big Idea #1. For the sky, he dropped in some dirty water to loosen things up, keeping some paper-white here and there. Then...
#3
#4
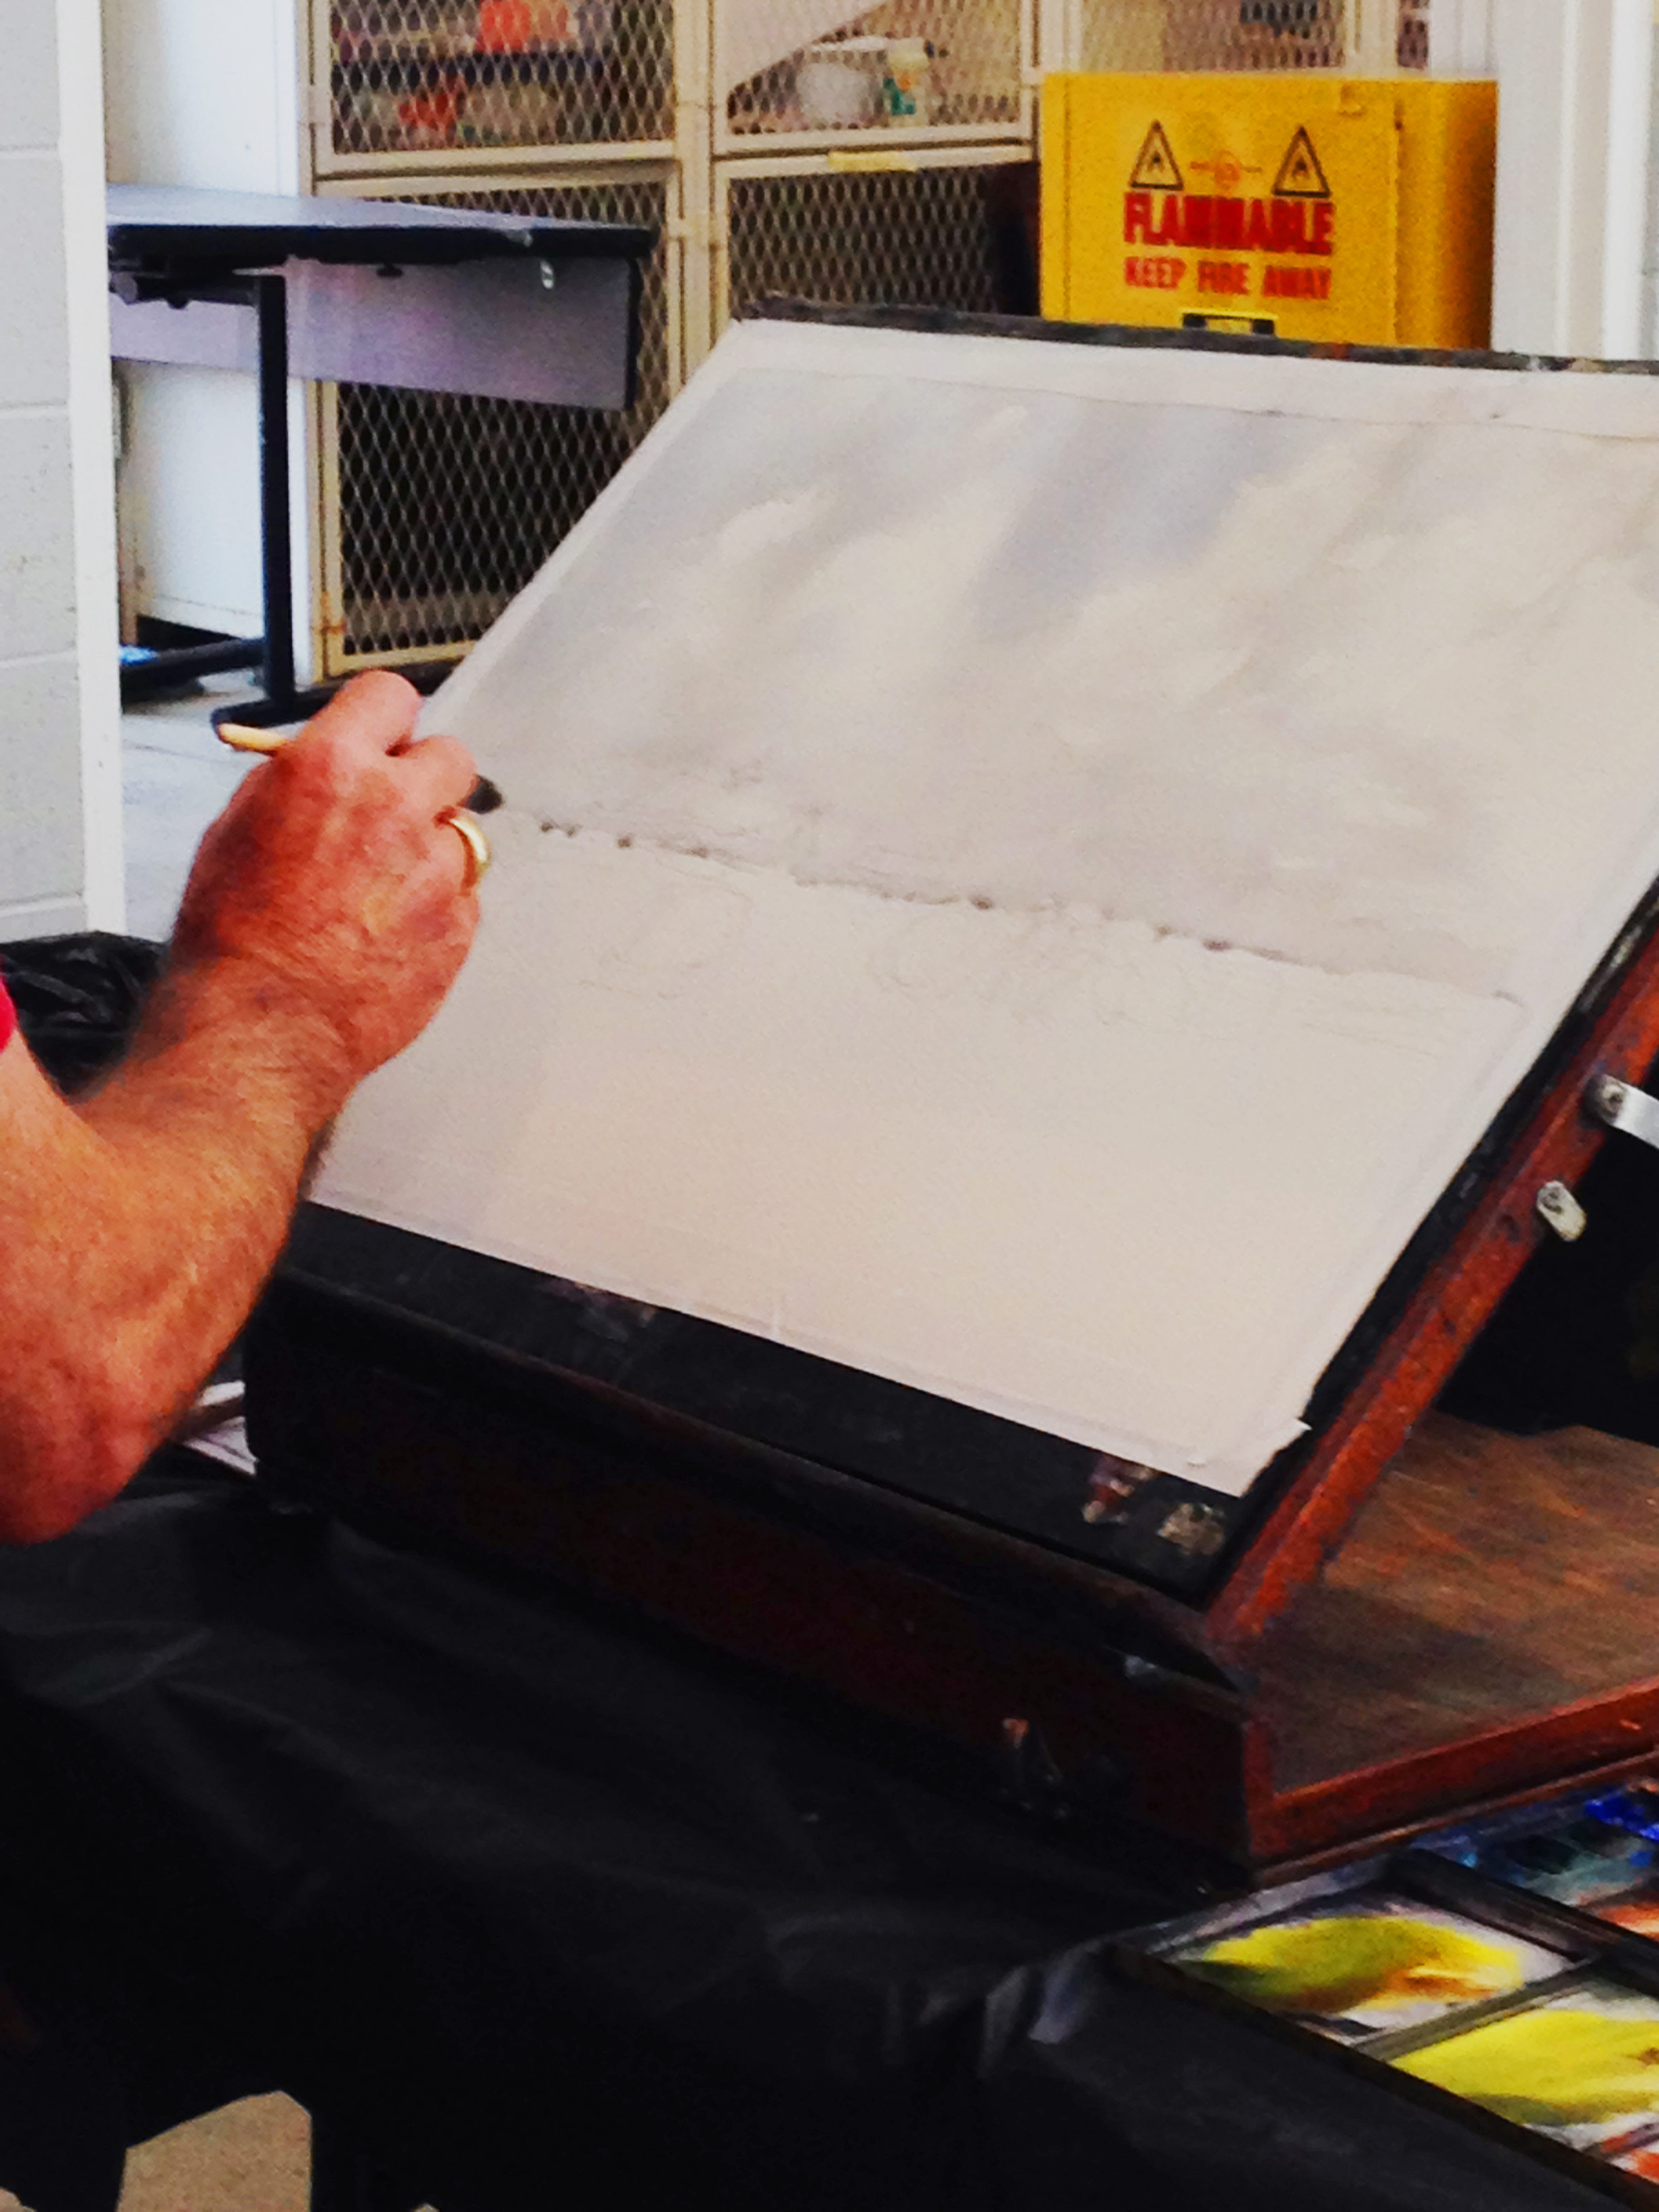
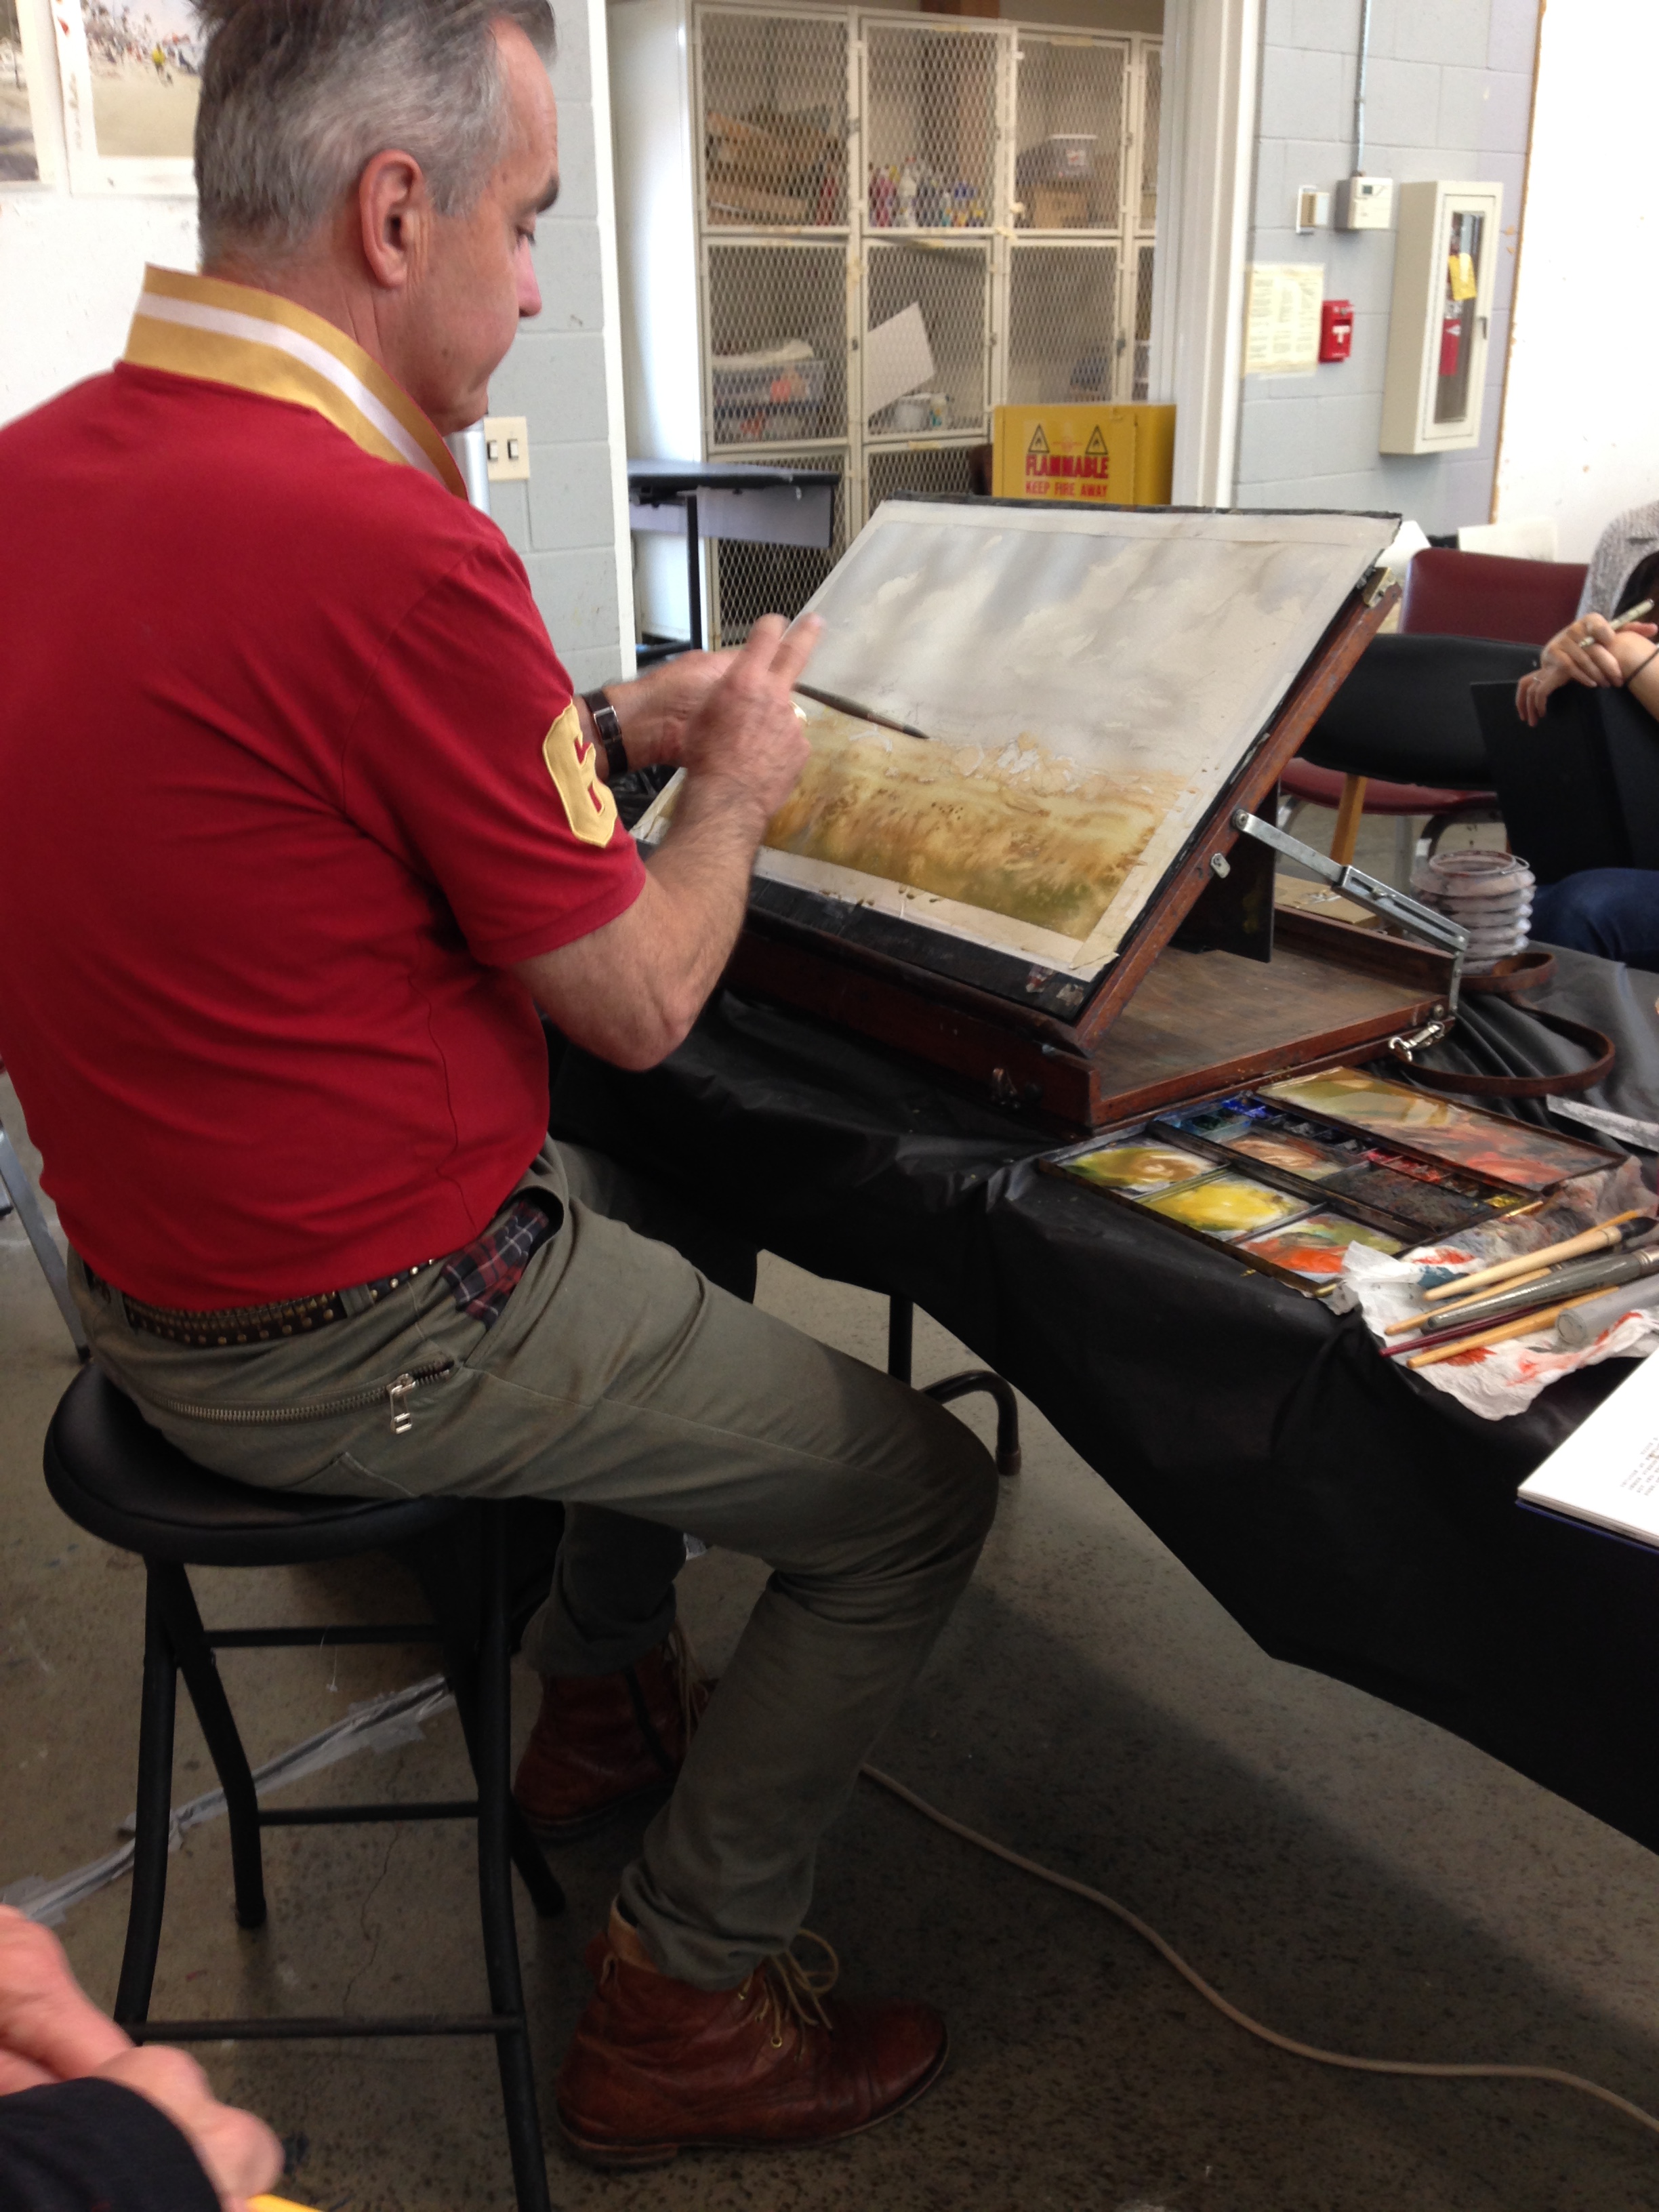
3 & 4) He dropped in some blue for the sky. The goal is to let it "paint itself" around and through the preserved white. Once things have happened, he cleaned it up a bit, and decided which cloud shapes he liked. From there, you can see he made a bead, "Mr. Bead to you!" he said jokingly, and moved on down into the foreground, cutting around the roof, the bales of hay, and the 2 figures on the right. He carries it all the way to the bottom. Notice the bloom just above the horizon line- he doesn't sweat it at all. It'll get covered later by darker values.
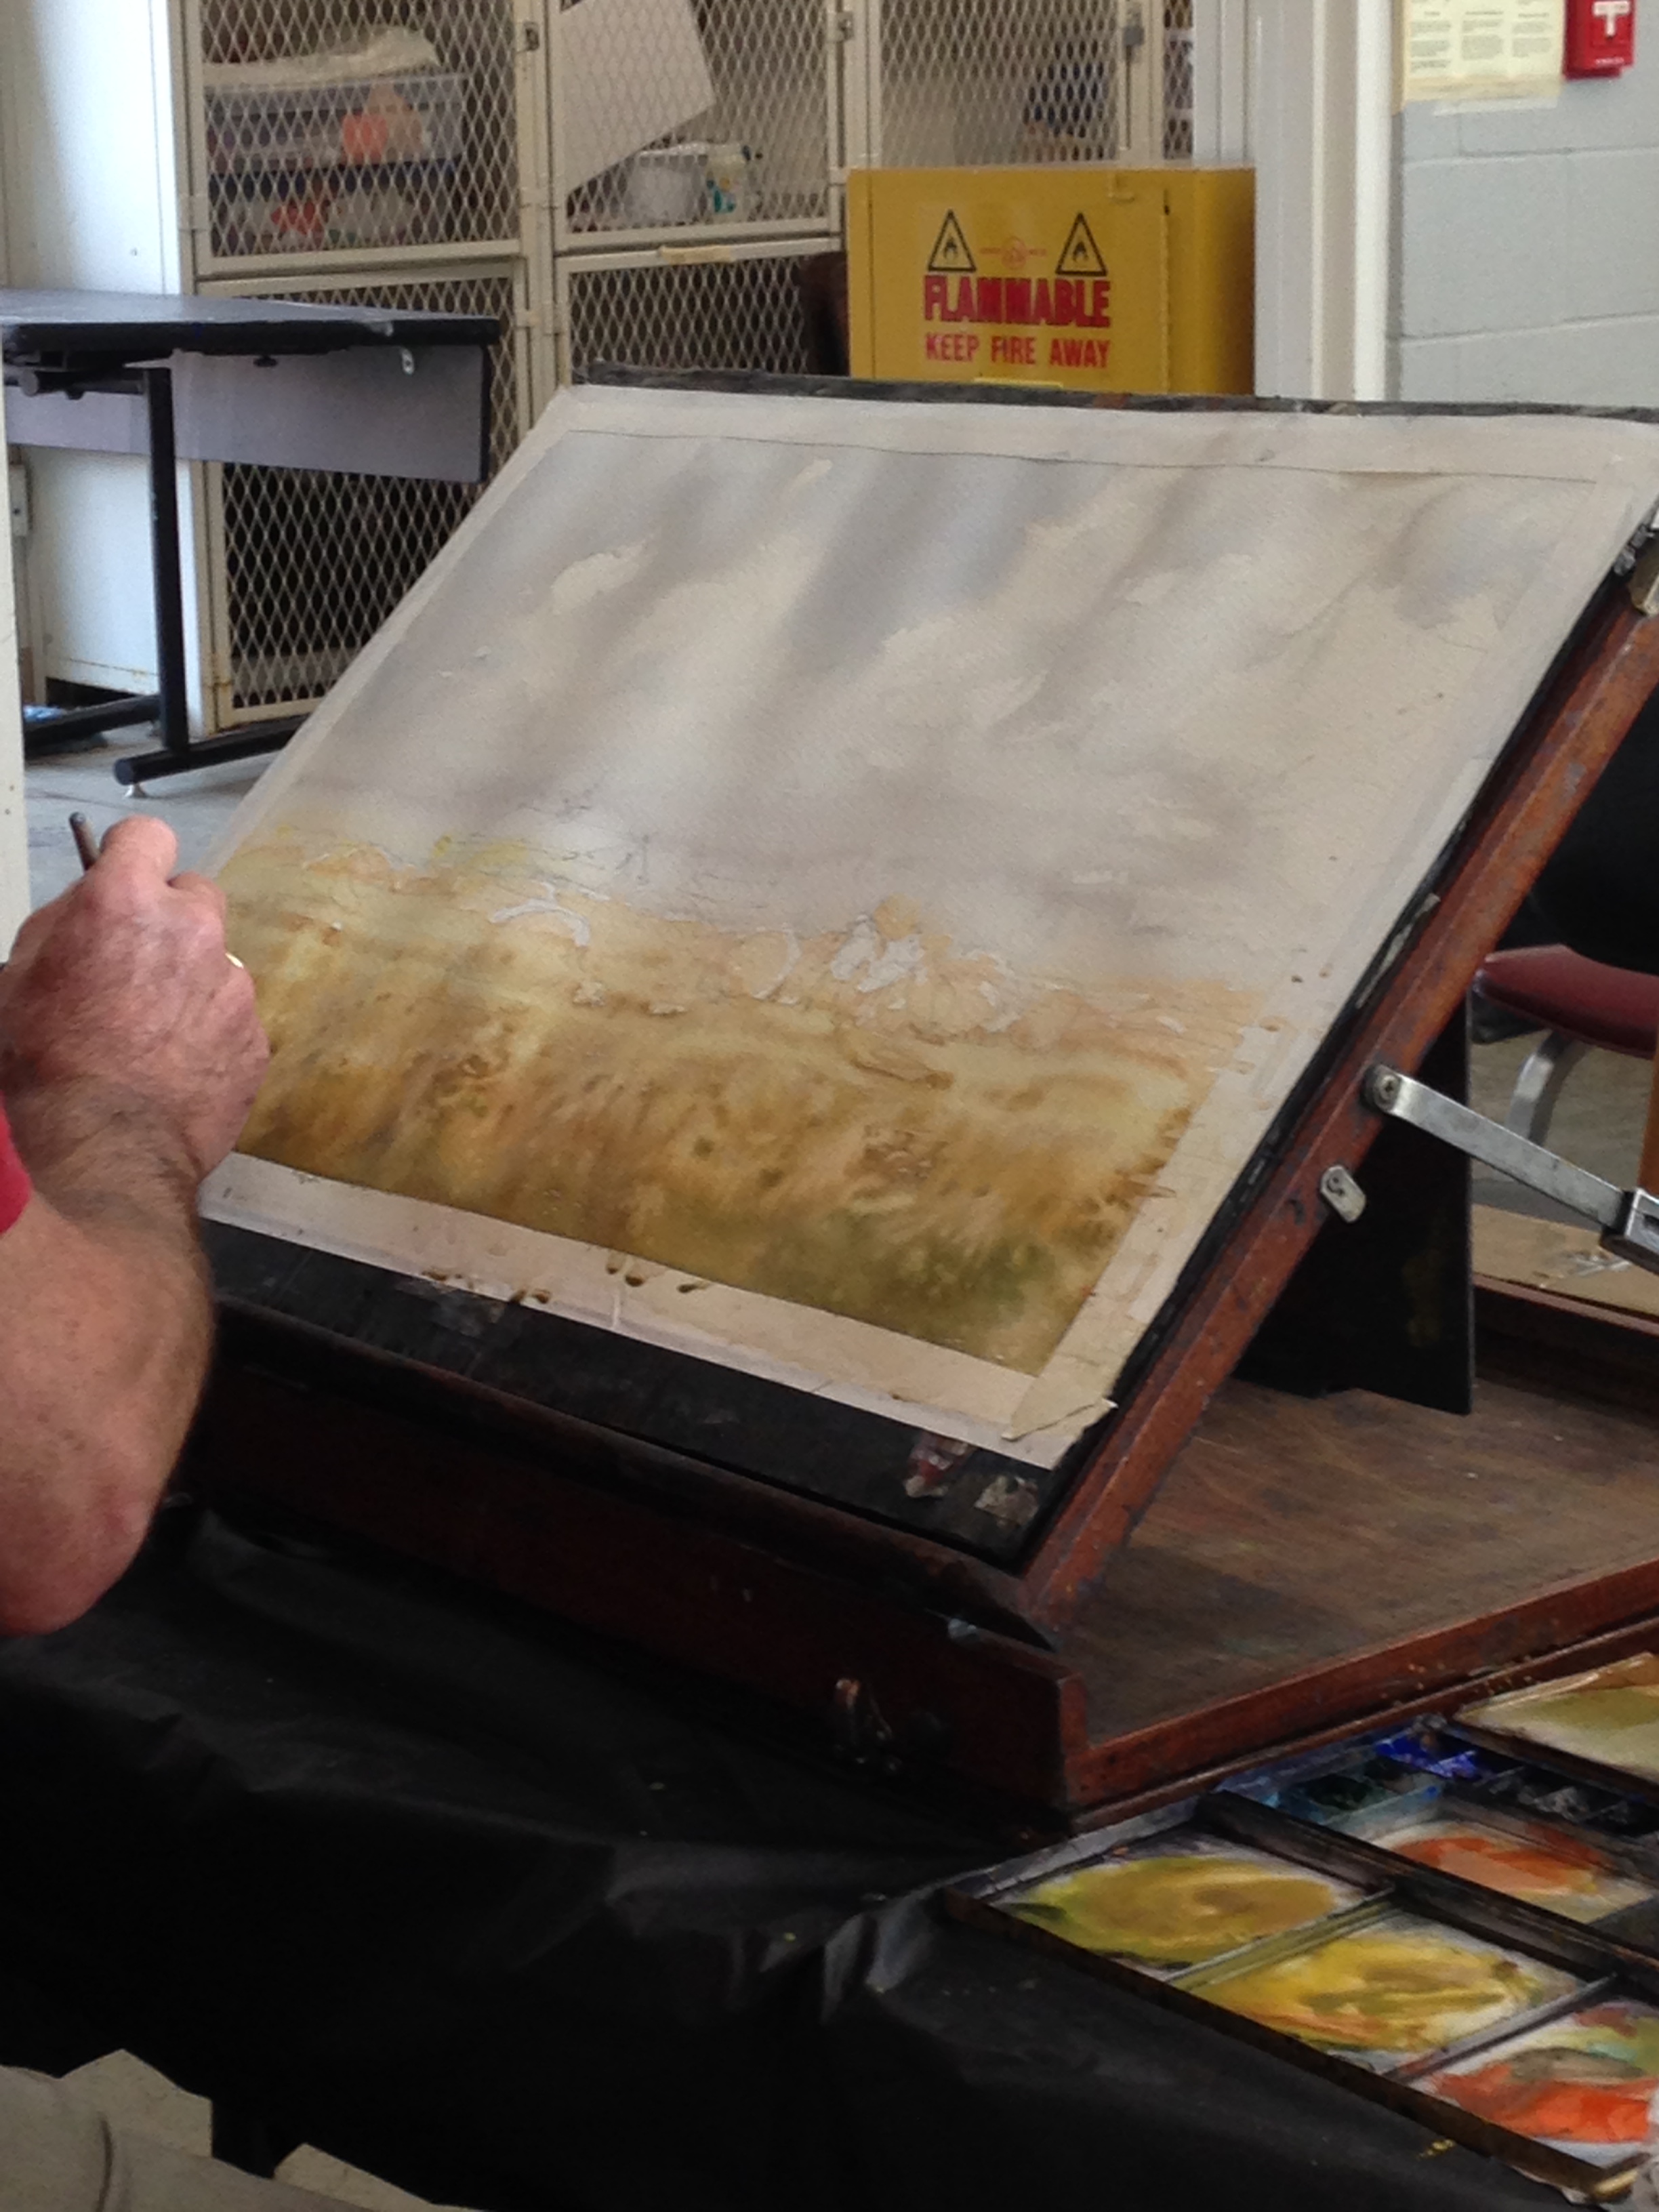
5) Next comes a bit of magic, as he builds the foreground. It's very loose, and a clear expression of watercolors "painting themselves"- Big Idea #3. He puts in the basic colors, then streaks horizontal bands of water across it. They bleed down and make the abstract work you see.

#5
#6
#7
6 & 7) In #6 (the middle), you can see him adding additional splatters of water. And by #7, you can see that things have changed some. He sets a reaction into motion, and lets it runs its course. The goal is not to mess it up by trying to fix it. You have to let it be.
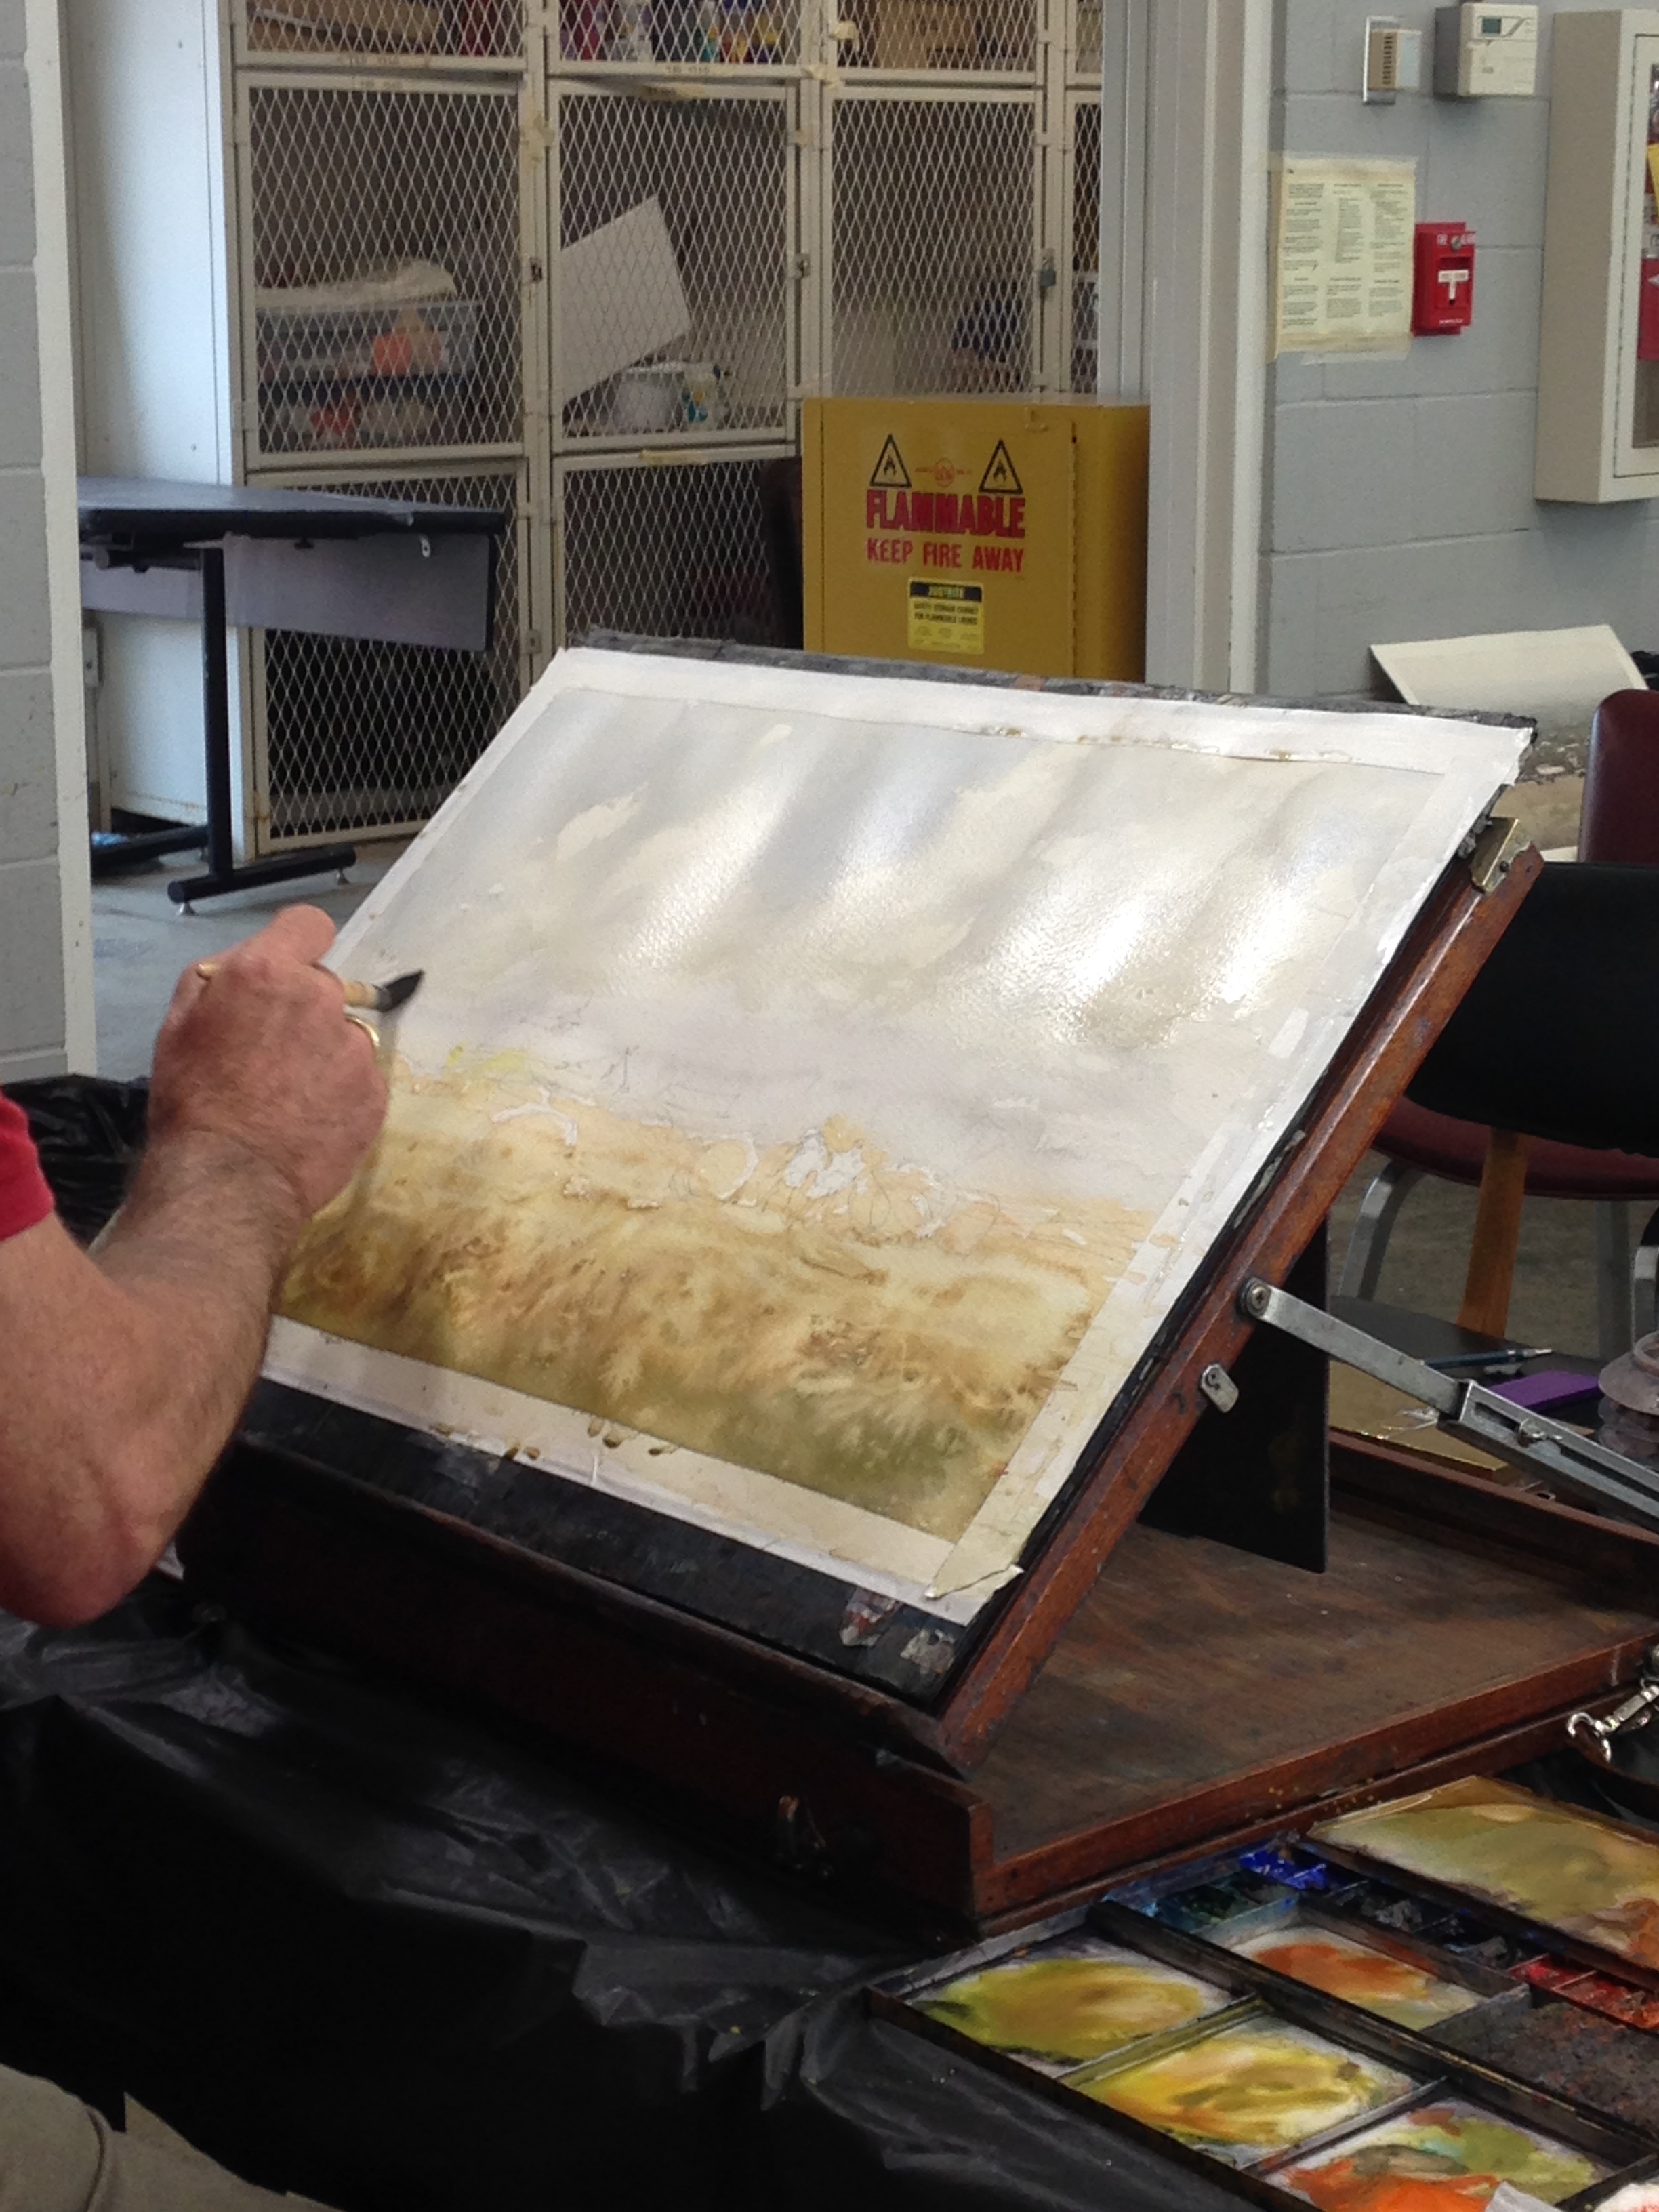
8) First, he lets everything dry 100% before he starts this next stage. This is where Big Idea #2 comes into play (that the painting process is only 2 basic stages, at heart). That's very important and repeated over and over again. Totally dry. Yes, really. Then he puts down a wash of dirty water over the background, all the way to the midground, where he leaves a loose, broken edge.
#8

#9

#10
9 & 10) He uses that wet wash of water to paint wet into wet for the distant, soft hill in #9, the middle pic. However, it doesn't interact with the sky he painted because he let that dry completely first. While the hill is still moist, he paints the far away trees and shrubs in #10, cutting around the houses, and letting the water soften the edges for him. It's a lot of simple brush strokes that he leaves alone. No going back in and dab, dab, dabbing!
#11
#12
11) The farther down he goes, the more he enters the very important midground, where the values darken, and cast shadows begin to appear. By now, the background hill and trees are either dry or barely damp. Because of that, some edges of the dark trees are soft, others emerge harder. By the way, see how he connects the midground to the background with "hooks"? It's all the branches arching up past the horizon.
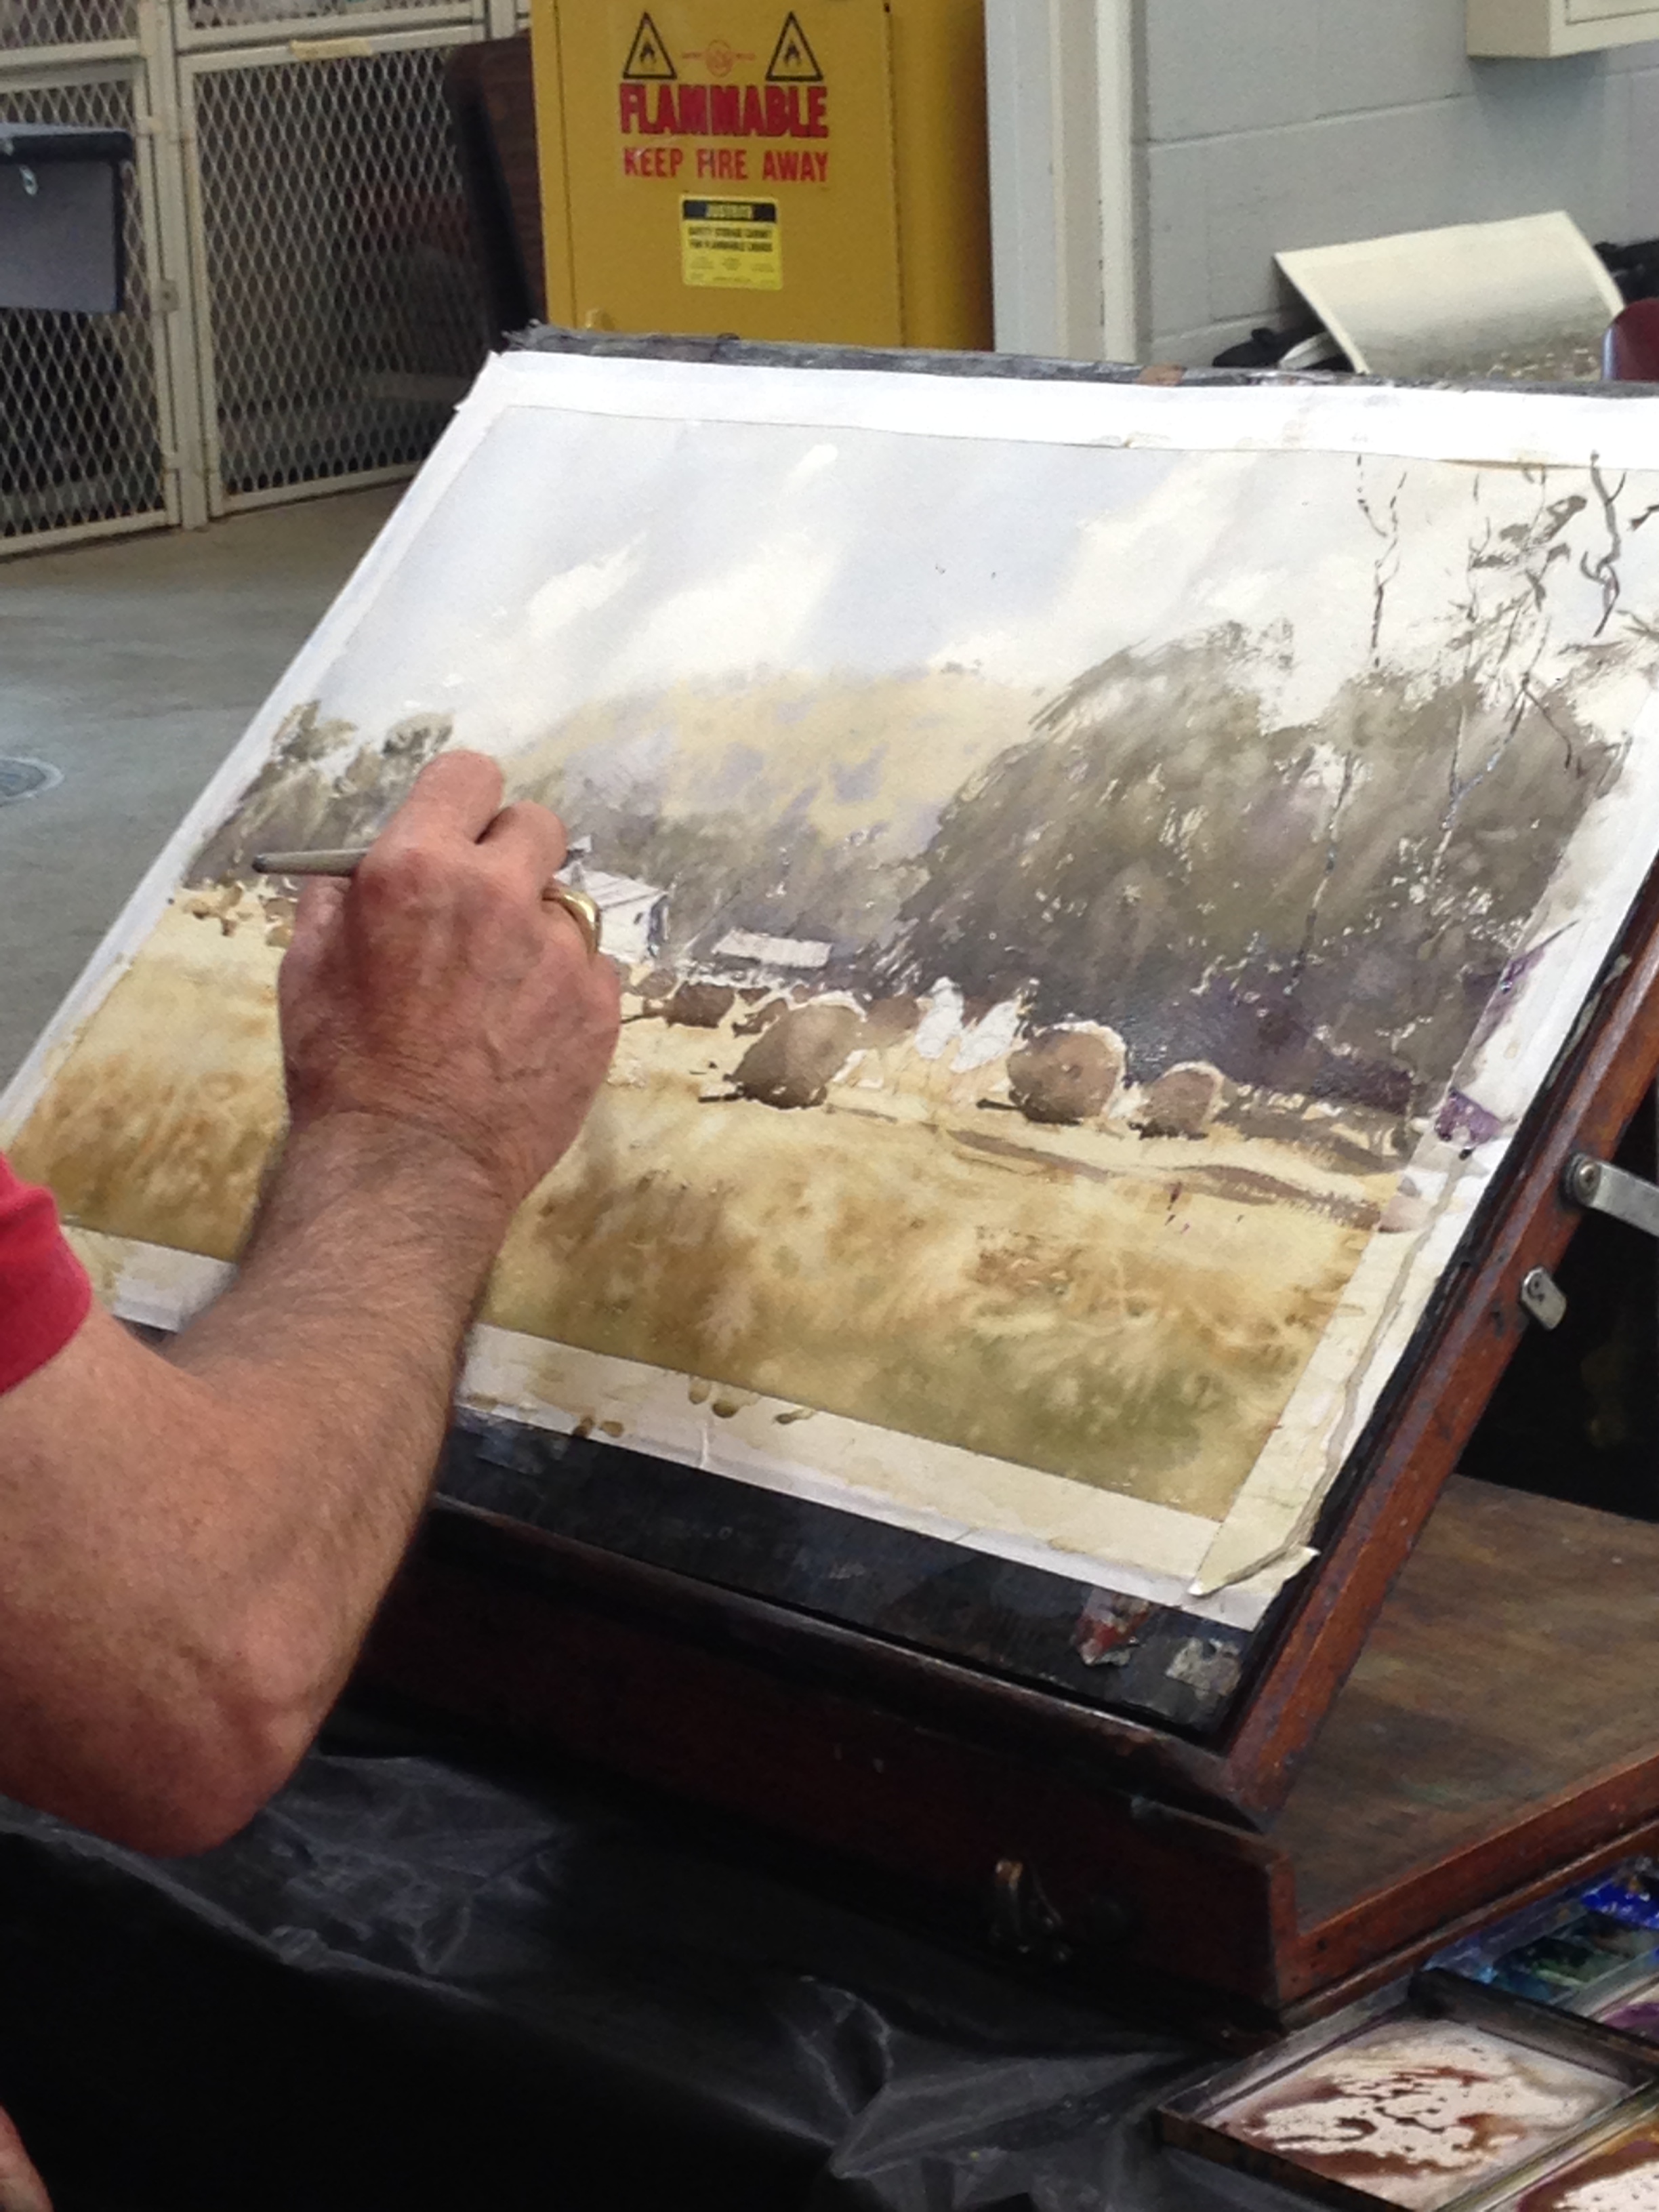
12) These next bits are, I suppose, the jewelry. Bales of hay with bold value contrasts, details on the roofs, the figures and their shadows-- all the things we often notice and pay attention to! But as Joseph said a few times, its not the details that make the painting, it's the shapes. The painting is really already done before he even gets to this last stage, but the jewelry takes all the credit.

13) And the final result! Note Big Idea #1- the foreground, background, and middleground, and how much of the image (the soft background hill and trees, the very loose foreground) has "painted itself" (Big Idea #3). The trees are separate from those early clouds, and the bales of hay from that early splashy foreground because he let everything dry in between (Big Idea #2).
I'll be sharing some more demos over the next few posts, and go over, in more detail, some elements of composition, sketching, technique, wet into wet work, working plein air, etc. As always, I'll be sharing some of my own work too, and talking about what I learned from Zbukvic's critiques. Should be fun!